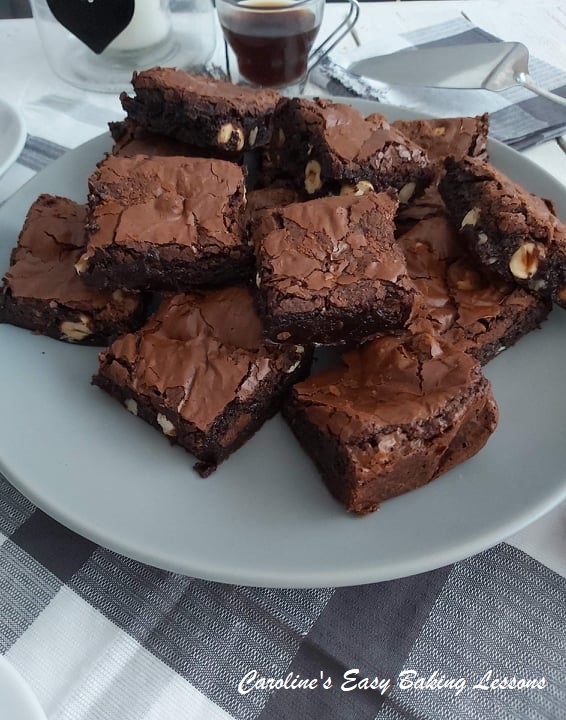
Browned Butter Hazelnut Brownies

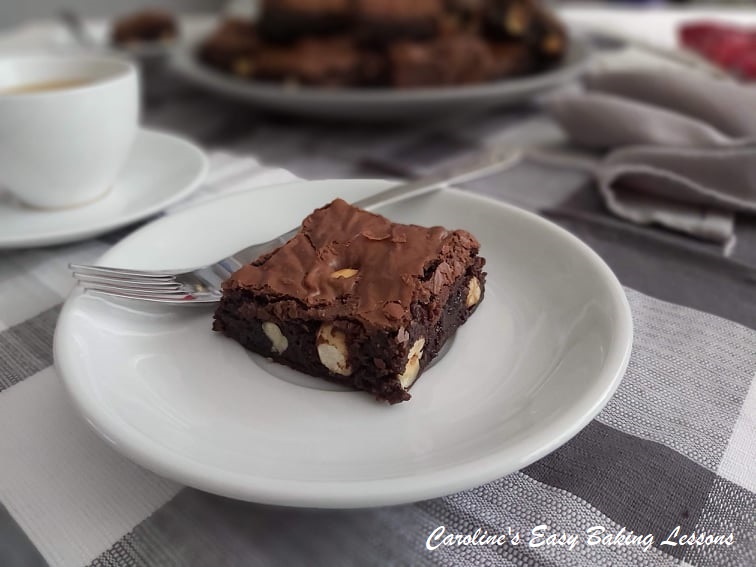
Here’s my new Chocolate brownie recipe, but this time, with browned butter & hazelnuts. With the same gooey texture, these Browned Butter Hazelnut Brownies are as addictive as my classic version.
Equipment
- Scales or measuring cups
- Measuring Spoons
- Small Cooking Pot
- Wooden spoon
- Microwave safe bowl to hold chocolate
- Microwave or use stove top for melting
- Spoons (several)
- Mixing bowl
- Sieve
- Stand/Hand-held Mixer
- Plastic/silicone baking spatula
- Baking tin (approximately 23 x 23 cm (9" square). Don’t use too small a dish or it will take too long to cook. You want a dish were the sum of the length + width is about & not to exceed 46 cm (18") or they will be too thin).
- Spray, lining paste or butter for greasing
- Baking/parchment paper
- Scissors & pen/pencil (optional)
- Timer
- Wooden Cocktail stick
- Cooling rack
Ingredients
- 185 grams Browned Butter, cooled (unsalted & cubed - 1 stick + ⅓ cup or 6.5 oz. See notes & video for how to make browned butter)
- 185 grams Milk chocolate (6.5 oz semi-sweet)
- 200 grams Granulated sugar (1 cup, 7 oz)
- 75 grams Light Brown Sugar (⅓ cup, 2.5 oz OR 275g/9¾ oz/1⅓ cup Golden Granulated Sugar)
- 3 Medium Eggs (US Large)
- 85 grams Plain Flour (⅔ cup, 3 oz All Purpose Flour)
- 40 grams Cocoa Powder (⅓ cup, 1½ oz)
- 100 grams Dark Chocolate (3½ oz bitter chocolate)
- 140 grams Hazelnuts (1 cup, 5 oz, whole)
Instructions
BROWNING THE BUTTER
- Begin by making the browned butter. Take the butter and place in a small pan. Top Tip – Have the butter cubed, and it will melt quicker.

- Melt the butter on medium heat. Then let come to a boil. Note the colour of the butter once melted. It will be an opaque yellow colour. See Photo 1 above.
- Let the butter boil & bubble away for at least 5 minutes and until the liquid and fats separate. It will begin to smell nice and a foam will form on the surface. The liquid will change to more of a translucent consistency, and some residue will be visible on the bottom of the pan. Once the liquid starts to turn a slight brown colour, it’s time to remove from the heat. Don’t leave any longer or it will be burnt. So ideal to keep an eye on the colour. Watch my video below for this process, and also Photo 2 below, of the stages.

- Pour the browned butter into a small heat safe bowl and be sure to scrape down the residue and add this to the bowl, as this is where the flavour is. Leave to cool down while you move on to the next stage.


Prepare The Ingredients & Tin
- Break up the 185g/6½ oz milk/semi-sweet chocolate & microwave in 30 second bursts, stirring well in-between each, until fully melted. Leave to cool while you gather the other ingredients. Alternatively, melt in a bowl over a pan of barely simmering water.
- Weigh out the flour & cocoa through a sieve into another bowl (not the main mixing bowl).

- Grease the baking tin & place baking paper/parchment inside it. See photo 4 above for how to cut your paper to fit. I usually hold in position with baking spray or Cake Lining Paste. This time I used Frylight Oil spray (see notes).

- Next whisk the eggs & sugar with a hand/stand mixer for approximately 4 – 5 mins, on medium to high speed. It must become thick & creamy, paler in colour & increased in volume. This is the key to these gooey brownies. See from Photo 5 above how thick it is, and it will leave a trail that doesn't immediately vanish. You can also see my quick video on Whisking Eggs & Sugar To The Ribbon Stage.

- Gently fold in the cooled browned butter & melted chocolate/butter with a plastic/silicone baking spatula & do so in the shape of a number 8. Think of your spatula as a pen & the mixture your paper. Mixing too vigorously will undo all the whisking from earlier. Mix just until all mixed in and no more. **Make sure you add the residue from the bottom of the bowl with the browned butter. See photo 6 above.
- Next re-sieve the flour & cocoa mixture, into the batter. Mix it in again like before until no flour is visible, scraping down the sides too.

- Roughly chop the remaining 100g/3½ oz dark/bitter chocolate & Hazelnuts and finally fold into the batter just till evenly distributed. See Photo 7 above.

- Pour the brownie batter into the prepared pan & level off if required. See Photo 8 above. Leave to sit so that it will form a crust later. (Leave at least 10 mins). Heat up the oven to: 180°c/160°c Fan oven/350°f/Gas mark 4 while the brownie sits.


Bake The Brownies
- Bake for about 18 – 25 minutes, turning the tray if needed, after half-way through. The top will have formed the crust, (see photo 9 below). Testing with a wooden cocktail stick, the outer edges produce a clean stick, whilst the centre is a little moist with just a few crumbs. This is what we want.

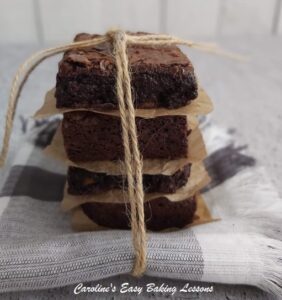
- Leave the brownies to sit to cool down in the tin for 5 minutes. Then transfer via the paper, to the cooling rack to cool down completely before cutting into 16 squares. See tips in notes for cutting.

- Store left-overs in an airtight container for a few days. I prefer cake tins.


Video
Notes
Watch Browning Butter Video
*Type of chocolate can be adjusted to taste, just note however, that these brownies are very rich, so both chocolate being dark/bitter chocolate would maybe be too much. Also if using half dark/bitter chocolate, there is no need for higher cocoa content chocolate.
*Can be made gluten free, see main recipe post.
 *Don’t skip the 5 minute mixing of the eggs and sugar stage, as this is key for gooey brownies.
*Brownies can be cut easier if left overnight at room temperature to cool. Alternatively, place the brownies, still in the tin, into the fridge to speed up cooling, about 15 minutes after coming out of the oven. Once cooled completely, remove with the paper & cut with a warm sharp knife and wipe it in-between each cut.
*Don’t skip the 5 minute mixing of the eggs and sugar stage, as this is key for gooey brownies.
*Brownies can be cut easier if left overnight at room temperature to cool. Alternatively, place the brownies, still in the tin, into the fridge to speed up cooling, about 15 minutes after coming out of the oven. Once cooled completely, remove with the paper & cut with a warm sharp knife and wipe it in-between each cut.
 *I used Frylight Cooking Spray for greasing & lining the tin. Works great for silicone bunt cases too. Comes in different types like butter or extra virgin olive oil. Go to Frylight website
*Don’t skip the 5 minute mixing of the eggs and sugar stage, as this is key for gooey brownies.
*Brownies can be cut easier if left overnight at room temperature to cool. Alternatively, place the brownies, still in the tin, into the fridge to speed up cooling, about 15 minutes after coming out of the oven. Once cooled completely, remove with the paper & cut with a warm sharp knife and wipe it in-between each cut.
*I used Frylight Cooking Spray for greasing & lining the tin. Works great for silicone bunt cases too. Comes in different types like butter or extra virgin olive oil. Go to Frylight website