Raspberry Jam & Coconut Sponge Squares

Raspberry Jam & Coconut Sponge Squares are not only tasty cakes to make, but an ideal first baking lesson for beginner bakers. Start simple, and learn the basics of baking before advancing in your baking journey.
Equipment
- Scales or measuring cups
- Measuring Spoons
- Hand or Stand Mixer: (to cream the butter & sugar, or a wooden spoon & hard work)
- Sieve
- Spray Oil (Lining Paste, other oil or butter for greasing)
- Baking/parchment paper
- Square baking tin: 22x22cm (9 in x 9 in) (Or rectangular tin up to 30 x 16cm (12 x 6 inches), but no more than a total of 18 inches/44cm when you add the length and width. Otherwise cake will be too shallow)
- Cooling rack
- Timer or Phone Timer
- Palette knife, or butter knife
Ingredients
- 113 grams Butter, unsalted (softened & cubed (4 oz, 1 stick, ½ cup))
- 113 grams Self-raising flour* (4 oz, OR 1 cup A.P./Plain Flour plus 1½ tsp Baking Powder)* See notes.
- 113 grams Caster sugar (4 oz, ½ cup extra/super fine sugar -* see notes)
- 1 tsp Baking powder
- 2 Eggs (med-large, large-XLarge US/Canada)
- 75 ml Milk (5 tbsp)
- 8-10 tbsp Raspberry jam/jelly/preserve (May need thinning slightly to spread)
- 100 grams Desiccated Coconut (3½ oz, 1 cup max. - US larger, unsweetened, shredded coconut is fine too, maybe just lightly chop it)
Instructions
- Pre-heat the oven to 190◦c/Fan Oven 170◦c/375◦f/Gas mark 5
- Cube the butter while measuring out. I like to cut to about 1½cm (½″) size roughly, as a smaller surface area softens & comes to room temperature quicker. It’s also easier to mix in too. See Photo 1 below. But if you forget or are short on time, try this hack I reviewed, for Softening Butter In About 12 Minutes.
- Place the softened butter in a mixing bowl, add in the sugar & cream together till smooth and lighter in colour. See Photo 1.

- Add one egg at a time to the mixture and mix well in-between each addition.
- You can sprinkle on a spoon of the flour before the last egg, if the mixture is looking a little curdled. But don’t worry if it still does, it will still come out nice.
- Next, sieving the flour & baking powder on top of the mixture. If using A.P. or Plain Flour, be sure to add the extra baking powder too. See Photo 2 below.

- Mix until just combined and no more flour is visible. See Photo 2 above.. If you hold the sieve higher up, it will incorporate more air into the batter.
- Add in the milk and again mix until just combined, (over mixing will produce a dense cake, not light and airy. See Photo 3 below.

- Cut out baking/parchment paper for your tin. See Photo 4 below (or in main recipe instructions). Cutting to fit means the paper doesn't get stuck in the baking cake. Use more butter/oil/paste if needed to get it to stay down in position. Trim the excess paper hanging over is too long.
- Now pour/spoon the cake batter into the prepared tin. Level it out as best as possible with a spoon and then give a few taps on the worktop/counter to remove any air. See Photo 4 below.

- Bake in the centre of the oven for about 15-22 mins, until evenly golden brown on top (turn the tin around during baking if it’s not evenly golden, but don’t do so, until past the half-way mark). Do not be scared of getting a nice colour on your bake – colour equals taste and flavour. See Photo 5 below.
- To test if it’s done, insert a cocktail stick/wooden toothpick into the centre of the sponge and if it comes out clean, it is ready. If not, put back in the oven for another 2 minutes and check again until done.
- **If the cake is a good golden colour on top but not ready in the middle yet, cover the top of the cake with tin/aluminium foil and continue to bake till done with the cocktail stick test.

- Leave to cool in the tin on a cooling rack for about 15 minutes. Meanwhile, mix the jam in a small bowl with about 1-2 splashes of water and mix it through to thin it out slightly if needed.
- Spoon the jam on top of the cooled sponge cake and spread evenly getting right into the corners. Now sprinkle coconut on top of the jam layer. Let it absorb the coconut a bit and then sprinkle another light layer of coconut. If you can resist, leave to set a bit and then cut. Either cut in the tin or lift out with the baking paper and cut on a chopping board. I usually get 16 squares but you can cut them into whatever size you want. See Photo 6 below.

- Store in an air-tight tin. I have an old biscuit tin the right size for this and if you keep stored with the baking/parchment paper, it helps keep the moisture in the cake a little bit longer. These will be fine for a few days if stored properly and in a cool environment


Video
Notes
Caster Sugar
The equivalent to UK Caster Sugar is known as ‘Extra Fine or Super fine sugar’ in the US. For more, and how to make your own, see before recipe card.Self-raising Flour
This recipe uses Self-raising flour. But I have tested using Plain/A.P. flour with extra baking powder. Amounts given in ingredients list.Jam/Preserve & Coconut
You can use Jam, Jelly or Preserve for this cake recipe. If too thick for spreading evenly, you might require to thin just a little with a splash of water. The equivalent of UK Desiccated Coconut, is US Unsweetened Shredded Coconut. However, the US version, is in larger pieces. You can choose to process just a little, lightly chop or just leave as is, the choice is yours.
Lining The Cake Tin - paper lining helps get the cake out easily. Cut to fit is best, as you won't get any paper stuck inside your baked cake. Only takes a minute to cut it.
Freezing - I have not tested freezing the decorated cake, but you can freeze the cake after cooling. Wrap it whole, or in squares, with baking/parchment paper. Then on top of that cling film/plastic wrap or a food baggie, and mark the date. Recommend freezing for no more than a few months. Defrost at room temperature.
The equivalent of UK Desiccated Coconut, is US Unsweetened Shredded Coconut. However, the US version, is in larger pieces. You can choose to process just a little, lightly chop or just leave as is, the choice is yours.
Lining The Cake Tin - paper lining helps get the cake out easily. Cut to fit is best, as you won't get any paper stuck inside your baked cake. Only takes a minute to cut it.
Freezing - I have not tested freezing the decorated cake, but you can freeze the cake after cooling. Wrap it whole, or in squares, with baking/parchment paper. Then on top of that cling film/plastic wrap or a food baggie, and mark the date. Recommend freezing for no more than a few months. Defrost at room temperature.
 ALL RECIPES CONVERTED & MEASURED
All my recipes include conversions from grams to ounces and cups. Note that they have all been calculated by hand, by myself and tested several times, since Google is often inconsistent and inaccurate. Check out my Baking Ingredient Conversion table.
Save, Print Or Share The Recipe
You can save, or share this recipe and print it, with or without the photos.
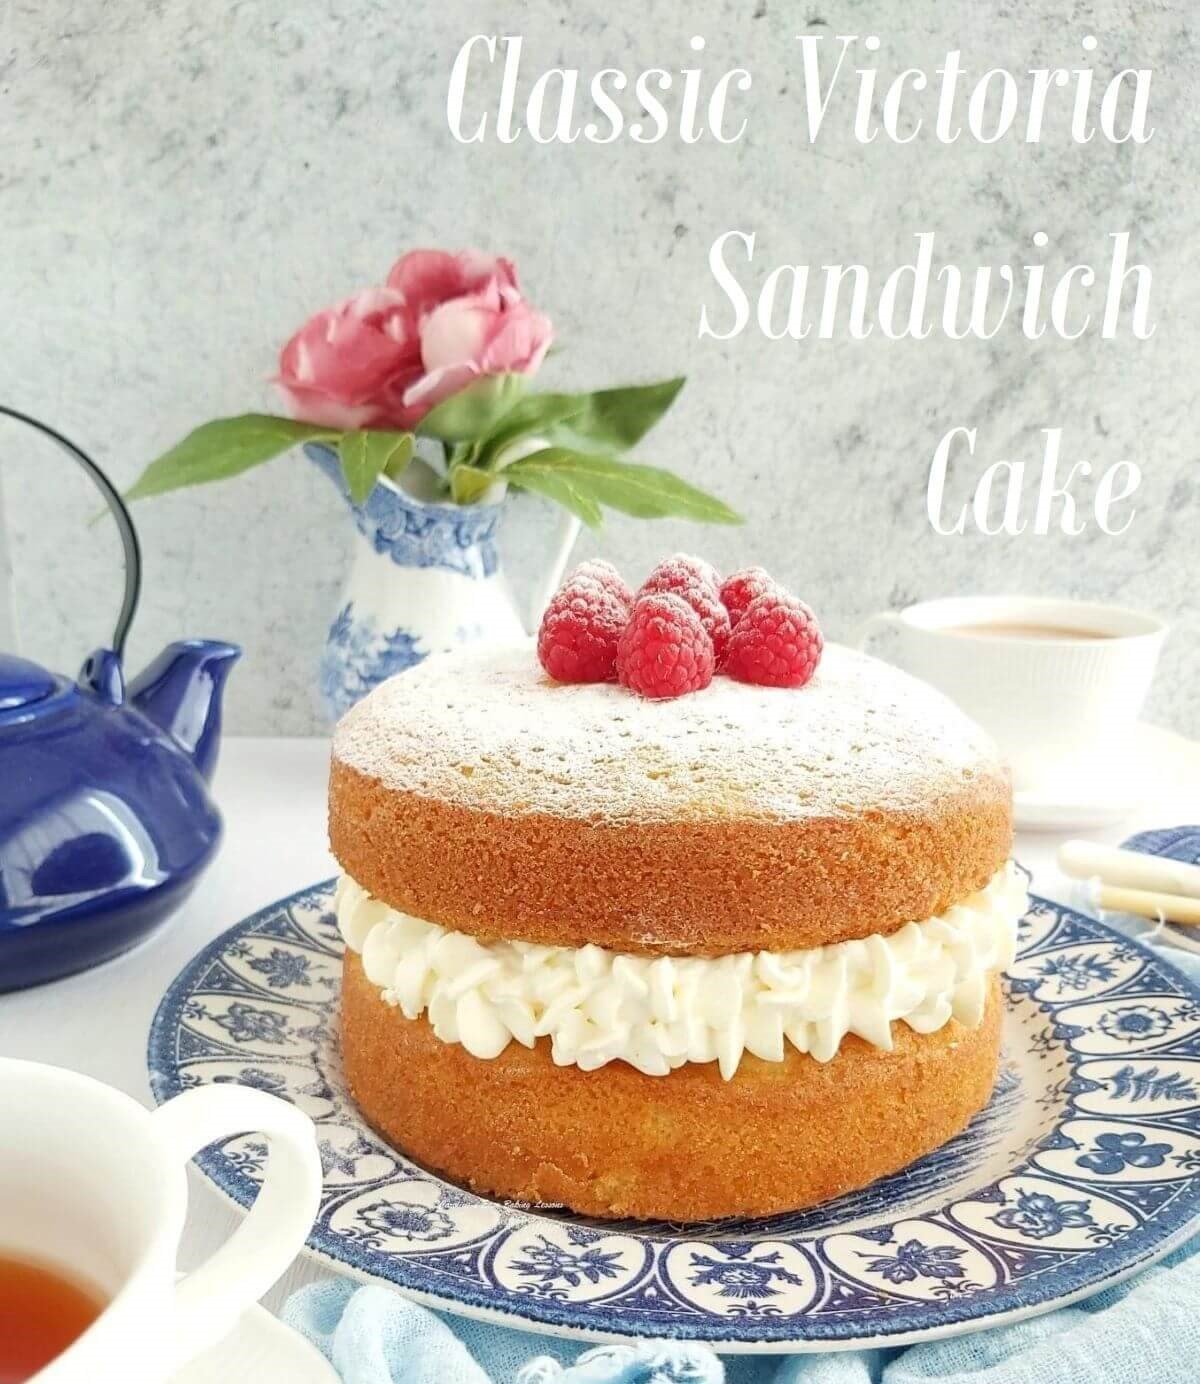
Try my Beginners' Classic Victoria Sandwich Cake tutorial
ALL RECIPES CONVERTED & MEASURED
All my recipes include conversions from grams to ounces and cups. Note that they have all been calculated by hand, by myself and tested several times, since Google is often inconsistent and inaccurate. Check out my Baking Ingredient Conversion table.
Save, Print Or Share The Recipe
You can save, or share this recipe and print it, with or without the photos.
Try my Beginners' Classic Victoria Sandwich Cake tutorial