Homemade Buttermilk & Butter

Bakers' step-by-step guide on how to make use of cream & avoiding waste by making homemade buttercream and butter.
Equipment
- Stand-mixer (Mason Jar or Food Processr)
- Bowl Of Water
- 3 Trays Of Ice Cubes
- Muslin Cloth or Cheese Cloth
- Sieve
- Large Jug Or Bowl
- Baking/parchment paper
- Tin Foil (Aluminium Foil)
- Freezer Bag & Pen (Optional - if freezing)
Ingredients
- 600 ml Double Cream (20¼ fl oz, Heavy/Whipping cream - for other amounts see notes*)
- Ice Cubes (3 trays for cleaming)

Instructions
Agitate The Buttermilk & Butter
- Begin by removing the double (heavy/whipping) cream from the fridge 10 minutes before starting. Then gather your equipment while the cold edge comes off the cream.
- Place the cream in a stand mixer with a whisk attachment (*not the k-paddle) and beat the cream as you would to make whipped cream. Beat on medium to high speed depending on your own mixer.
- Once the cream is like whipped cream with peaks, continue beating until butter looks like a curdled mixture. The mixture will have changed from a pure white colour to more of a yellow colour. (Note with US cream, this might not be as bright a yellow colour, just because of differences in the diet of the cow).
- Continue beating but being ready for the magic to happen - suddenly you will start to hear some splashing as the buttermilk and butter separates. Once it starts, be ready to turn off the mixer & once it splashes more vigorously stop the mixer. Most of the butter will be in the beater & in not a smooth mass either, which is normal (see step-by-step photos before this recipe card)
Washing The Butter
- Lift the attachment and let more buttermilk drip and pool at the bottom of the mixer while you prepare to wash the butter.
- Fill a large bowl 3/4 full with cold water and a tray of ice cubes.
- Remove the mass of butter from the beater, letting it fall into the bowl, scoop it out and plunge into the ice-cold water. Gently wash the butter ball but don't knead it yet. Place on some baking/parchment paper before dipping the beater into the cold water, shaking it to release any butter pieces. These can easily be scooped out and added to the mass of butter.
- Wash out the bowl and add more cold water and another tray of ice, before washing the butter for a second time. Wash until the water is cloudy and remove from the water.
Drain The Butter
- Now place the butter mass in a clean muslin cloth or cheese cloth, twisting at the ends and placing in a sieve, suspended over a jug or bowl. Give the butter a squeeze to release some more buttermilk, before leaving for at least 1 hour for the buttermilk to drain off.
Collecting & Storing The Buttermilk
- While the butter is draining, collect the buttermilk from the bottom of the mixing bowl and sieve off any particles, before adding to a glass jar, bottle or air-tight container.
- Store in the fridge for up to 2 weeks9.
Forming The Butter
- Once all the buttermilk has been removed from the butter, add that buttermilk to what you already collected & put back in the fridge.
- Open the muslin cloth and gently scrape any butter that is on the cloth, onto the mass of butter. If you are not going to freeze the butter, I recommend a 3rd wash in ice-cold water before storing. This will preserve the life of your butter.
- Form the butter into whatever shape suits you best - I did logs of butter & weighed them before wrapping in a strip of baking/parchment paper, then foil on top. **If you want some salty butter or compound butter, add some salt to taste now.


Storing The Butter
- Place in a labelled food bag if freezing, or in an air-tight container in the fridge. Well wrapped, the butter will last up to 12 months10 (4 months being when some taste can deteriorate). Stored in the fridge, the homemade butter can last 2 - 3 weeks6.
Using The Butter & Buttermilk
- Use homemade buttermilk like you would milk, or use in baking in place of water - for example in breads & rolls or in cakes & in buttercream icing. Try in my Heritage Buttermilk American Biscuits. Butter in any recipe requiring butter, like Classic Victoria Sandwich Cake, buttery Scottish Shortbread or in a Pastry recipe.
Video
Notes
Cream - only UK Double, or Extra Thick Double Cream will work. US equivalent is Heavy or Whipping Cream.
Amount Of Cream - any amount of cream can be used. Use the table below for a guide on how much buttermilk & butter will be produced from various amounts of cream.
Salted Butter - if you want to have salted butter, add some salt to taste not at the beginning. but rather when forming the butter into logs. That way you can use the buttermilk too.
 Recipe Yield - For 600ml (20¼ fl oz) cream, approximately 250ml (8½ fl oz) buttermilk & 250g (8¾ oz) butter, which is same as a standard block of butter in the UK. See table below for more.
No Muslin/Cheese Cloth - instead use a spatula & press the butter against the sieve, letting the buttermilk drip through into bowl.
Washing The Butter - as well as the ice water helping the buttermilk & butter separate, washing cleans the butter of buttermilk residue, but more importantly casein which can lead to purification and make the butter go off far sooner than the butter would ever go rancid itself. So be sure to wash at least twice. See before recipe card for more & references.
Recipe Yield - For 600ml (20¼ fl oz) cream, approximately 250ml (8½ fl oz) buttermilk & 250g (8¾ oz) butter, which is same as a standard block of butter in the UK. See table below for more.
No Muslin/Cheese Cloth - instead use a spatula & press the butter against the sieve, letting the buttermilk drip through into bowl.
Washing The Butter - as well as the ice water helping the buttermilk & butter separate, washing cleans the butter of buttermilk residue, but more importantly casein which can lead to purification and make the butter go off far sooner than the butter would ever go rancid itself. So be sure to wash at least twice. See before recipe card for more & references.
 Problems - Cream Not Separating? Or taking way too long? Make sure your cream is not too cold, but too warm and it will be problematic too.

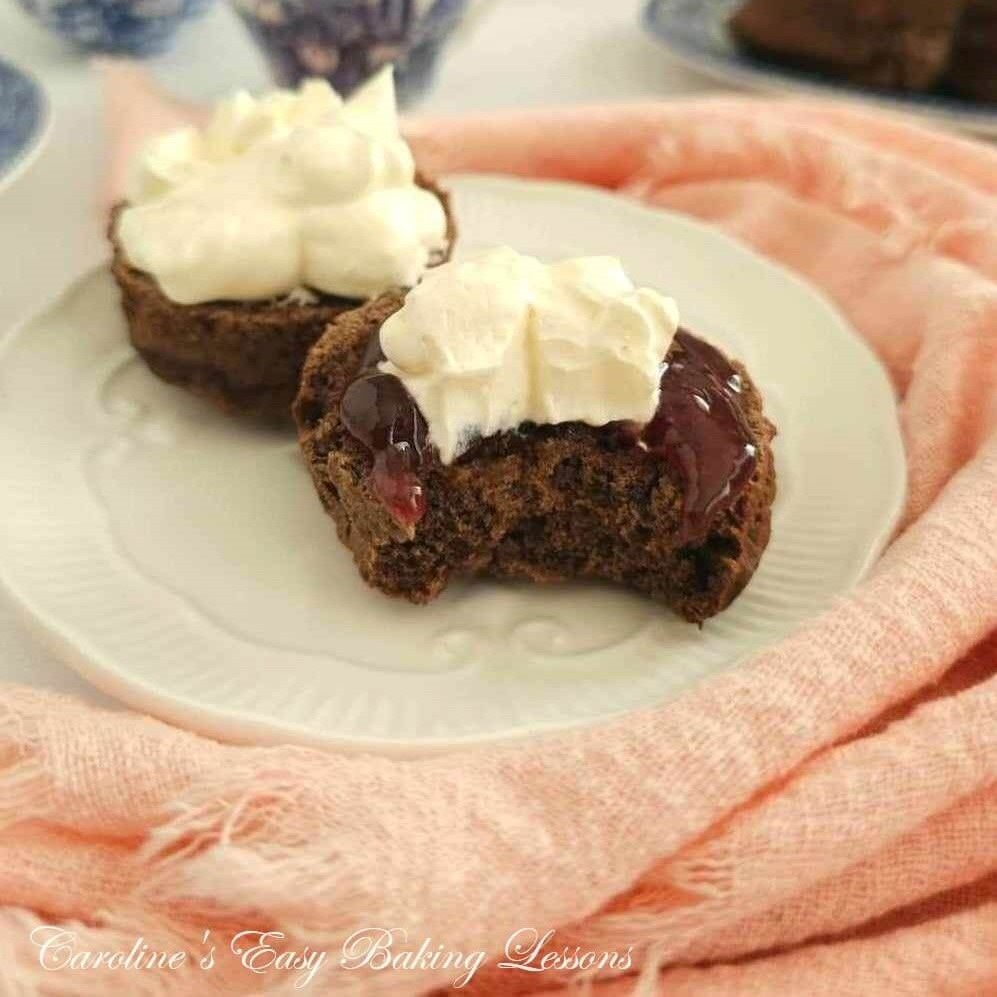 Use the buttermilk when making Air Fryer Double Chocolate Orange British Scones (above) or Heritage US Biscuits. For more uses, see below.
**See before this Recipe Card for more details & step-by-step photos.
Number Of Servings - this obviously can vary, so in this case servings was used as recipe yield, ie 250g butter & 250ml buttermilk, where 250g butter is standard UK butter block weight.
Use the buttermilk when making Air Fryer Double Chocolate Orange British Scones (above) or Heritage US Biscuits. For more uses, see below.
**See before this Recipe Card for more details & step-by-step photos.
Number Of Servings - this obviously can vary, so in this case servings was used as recipe yield, ie 250g butter & 250ml buttermilk, where 250g butter is standard UK butter block weight.
Nutritional Values - values in the table below are based on 250g (8¾ oz, 1 cup plus 5 tsp) butter only. 100g butter would be 718 calories & 41g fat. 1 tbsp would be 105 calories & 12g fat. For 250ml (8½ fl oz, just over 1 cup) buttermilk, it is 104 calories, 2g fat, 13g carbs, 10g sugar & 8g protein. I am not a qualified nutritionist & all calculations are approximate and based on information from website MyFitnessPal.com. Paste the amount of butter or buttermilk into the app & check for yourself with any serving size.
Recipe Yield - For 600ml (20¼ fl oz) cream, approximately 250ml (8½ fl oz) buttermilk & 250g (8¾ oz) butter, which is same as a standard block of butter in the UK. See table below for more.
No Muslin/Cheese Cloth - instead use a spatula & press the butter against the sieve, letting the buttermilk drip through into bowl.
Washing The Butter - as well as the ice water helping the buttermilk & butter separate, washing cleans the butter of buttermilk residue, but more importantly casein which can lead to purification and make the butter go off far sooner than the butter would ever go rancid itself. So be sure to wash at least twice. See before recipe card for more & references.
Problems - Cream Not Separating? Or taking way too long? Make sure your cream is not too cold, but too warm and it will be problematic too.
Use the buttermilk when making Air Fryer Double Chocolate Orange British Scones (above) or Heritage US Biscuits. For more uses, see below.
**See before this Recipe Card for more details & step-by-step photos.
Number Of Servings - this obviously can vary, so in this case servings was used as recipe yield, ie 250g butter & 250ml buttermilk, where 250g butter is standard UK butter block weight.
Nutritional Values - values in the table below are based on 250g (8¾ oz, 1 cup plus 5 tsp) butter only. 100g butter would be 718 calories & 41g fat. 1 tbsp would be 105 calories & 12g fat. For 250ml (8½ fl oz, just over 1 cup) buttermilk, it is 104 calories, 2g fat, 13g carbs, 10g sugar & 8g protein. I am not a qualified nutritionist & all calculations are approximate and based on information from website MyFitnessPal.com. Paste the amount of butter or buttermilk into the app & check for yourself with any serving size.
Nutrition Facts
Homemade Buttermilk & Butter
Serving Size
1 x250g Butter
Amount per Serving
Calories
1793
% Daily Value*
Fat
203
g
312
%
Saturated Fat
128
g
800
%
Polyunsaturated Fat
8
g
Monounsaturated Fat
53
g
Cholesterol
538
mg
179
%
Sodium
1508
mg
66
%
Potassium
60
mg
2
%
Protein
2
g
4
%
* Percent Daily Values are based on a 2000 calorie diet.