Beginners’ Guide To Working With Yeast

With my beginners' guide to working with yeast, learn how yeast works, what it needs to thrive & what steps you can take for a successful yeast-based bake.
Beginners’ Guide To Working With Yeast
After I did a few posts on social media to determine what areas of baking most people either struggled with, or were very apprehensive to try, bread making & working with yeast based dough was high on the list. So here is my beginners’ guide to working with yeast.

With the popularity and availability of shows like The Great British Bake Off (or The Great British Baking Show as it’s known in the States and Canada), more and more people want to expand on from making cakes & cookies.
And the logical progression they opt for is bread making. They often see incredible bread or yeast based creations on the show and jump in with out any knowledge in their arsenal and are then put off when it doesn’t work out the way they wanted. What a lot of people don’t realise (and this applies for other types of recipes too), there are lots of really bad recipes on the internet. Some are not tested enough and others are poorly written. My biggest peeve with recipes, is the lack of photos to guide people and seeing and touching in baking is just as important as tasting. Therefore, it is not always the fault of the baker, if their bake doesn’t turn out right.

That said, technique is also important for success. There can be several ways to do things, and often new ways pop up, but just because it is in black and white on the internet, doesn’t mean it is correct, or will always work. Remember baking is a science, involving your ingredients and how they react together, and how/what you do with them determines the end result or reaction if you like.
I will be doing a more in-depth article, with a lot more science behind it, but in the mean time, here’s an abbreviated version of how yeast works and for successful bread making. (You might also want to read my article on Baking Science – a guide to how ingredients work together to create our favourite bakes.)
DOWNLOAD this article to save to your phone or computer. Simply click the ‘download’ button below.
UNDERSTANDING YEAST & HOW IT WORKS
Yeast is a living organism, a growing entity if you like. And in that respect, it reacts to what it’s fed, how it is handled, as well as reacting to it’s surroundings and conditions. So once you know what the optimal conditions are, bread and yeast dough making, becomes easier to achieve.

WHY SUGAR, SALT & LIQUID ARE NEEDED
As mentioned, yeast is alive and it converts natural sugars found in flour into gases. Bread making requires sugar, salt and liquid for the correct reactions to occur:
1. Liquids:
Liquid is essential as it activates the yeast (when at the correct temperature). Water is the primary liquid used by most recipes, whilst milk (or butter milk), creates a tender crumb. Yoghurt can also be used to add a tangy flavour as well as moisture.
2. Salt:
Salt controls the fermentation process by inhibiting it and strengthening the forming gluten. This results in a more stable crumb, longer shelf life as well as providing more flavour.
3. Sugar:
Sugar accelerates the fermentation by providing food for the yeast. However, modern yeast (ie. fast acting or instant yeast), does not require as much to become active compared to dried yeast. Sugar also enhances the flavour, texture and the crust. Granulated sugar is used most often, whilst molasses will provide more taste and colour, malt extract and honey are also used.

RESTRICTIVE CONDITIONS
1.Direct Contact With Salt
Salt, when it comes into direct contact with yeast, can retard or impair it. In other words if you add in salt directly on top of the yeast, the yeast loses it’s ‘growing powers’ and they are hindered. So the end bake might be flat as a pancake, or not rise fully. And this is often where people give up. They make it look so simple on tv don’t they? But there’s things they don’t point out like this important information.
Solution:
My method is to mix in the salt and yeast separately. I tend to add the salt to the flour and mix it well, so that the salt is coated in flour. Then I add the yeast and mix thoroughly, before adding the sugar at the end. This way always works for me, and I feel it distributes the ingredients well, without hindering the yeast. Another method used is to add the yeast and salt at opposite sides of the bowl and mix at each side before mixing all together. I have tried that and often get confused if I added the salt or the sugar, so go with the other method. Keeps me right, is easier and I think distributes more evenly.

2.Too Hot or Boiling Liquid
Again, really hot or boiling liquid will impair the yeast and even kill it. Think of it like ‘deactivating’ it. It will become useless and not be able to perform it’s job.
Solution: cold, tepid or slightly warm liquid are best. Cold is fine, but not the optimal condition unless you are putting in the fridge overnight to prove. (This is known as a slow prove or rise). The benefit of this (as well as you not having to do all at once), is that the flavour gets to develop more and at a slow and steady pace. But for most situations, people are baking the bread the same day as making the dough. So tepid or just a little warm is optimal. This condition gives the yeast an environment it likes and in which it can grow nicely. You don’t need to measure the temperature, but if you want to, make sure it’s never above 50c/122f.

A NOTE ON LIQUIDS & FLOUR
No recipe can be exact on the amount of liquid that is required. Different types of flour, where and how it was harvested all determines how much liquid the flour will absorb. The more it absorbs, the more you will need to get the dough to the right consistency. So if your recipe has you adding the liquid to the flour, the amount of liquid required maybe more or less than the recipe advises. Similarly, if you are starting with liquid and adding the flour, you might need more or less flour to get the dough right. So that is why it’s always best to start off adding gradually and not adding too much. If the recipe tells or shows you how the dough should look and feel, you will know when to stop adding. Humidity can also mean flour will absorb less than normal. So the quantity should always be viewed as a guide line. Note Wholemeal/wheat flour tends to absorb more liquid than white flour. It is really important to get the dough to the correct consistency, and not to add too much flour, especially after the proving as it can affect the structure of the bake and make it more dense. So if your dough is meant to be sticky, use lightly oiled hands to handle it easily, rather than using more flour.

THE IMPORTANCE OF KNEADING
So why is kneading important? The wheat kernel is made up of bran, germ and endosperm (the inner most part, that is full of starch and protein). When kneaded, protein is developed, and this in turn produces gluten. The gluten is the elastic substance that traps Carbon Dioxide gas that is generated by the leavening agent (usually yeast). And in turn the dough will rise nicely with this supply of gas.
I can’t knead for long by hand, so always use the dough hook on a stand mixer. Half way through the kneading time, I turn the dough over, just to make sure it’s getting an even knead. If your dough is sticky, tilt the bowl on it’s side, oil your hands lightly and gently release it as best you can and flip over and back on to knead again.

PROVING (ALSO KNOWN AS RISING)
The proving period, also known as it’s rising time, is best done somewhere warm. As mentioned above, you can do a slow cold prove in the fridge overnight. However, the rest of the time, a consistency warm environment is best for the dough to grow. Consistency is the key, as somewhere with drafts can cause it to not rise enough. I use a large plastic bowl generally for the rising, as metal can conduct heat over efficiently and might produce an uneven rise.
I always wrap the bowl well in cling film/plastic wrap and always put a towel on top. If the tumble dryer is on, I leave it on top of the worktop/counter above it. Other times I will place near a radiator of fire, turning the bowl half way through and making sure it’s not too hot. In warmer months, I put in the greenhouse and it loves it in there, often proving in 1 hour, compared to 1 1/2 hours in the house.
There will also be a second proving period, for breads, that happens after you shape the bread or rolls. Which leads us on to the next important action:

‘KNOCKING THE DOUGH BACK’
Knocking the dough back’ is simply releasing (or deflating) the air from the proved dough, by pushing down on it with your knuckles. But why knock out all the air that the 1st proving period produced? This is important to let the air pockets re-distribute in order for them to make the bread rise again in the second proof and in the bake. Not doing this, can often result in a bake that hasn’t risen in the oven as expected.

A NOTE ON OVER & UNDER-PROVING
There is also the terms ‘Over-proved’ & ‘Under-proved’. Both of these can result in breads not baking off as expected. Here is a quick explanation of both and how to check for them.
CORRECTLY PROVED DOUGH
If a dough has proved correctly, the dough will generally have doubled in size (and the recipe should advise on how much).
To test your dough – using a finger or your knuckles, gently push on the dough. If it makes an indent that slowly springs back, then your dough is sufficiently proved.

OVER-PROVED DOUGH
For over-proved dough, sometimes you can tell if the dough has risen much more than expected or instructed in the recipe. But you can also test it to be sure.
To test for over-proved – using a finger or your knuckles, gently push on the dough. If it leaves an indent that does not spring back, then the dough has been over-proved. When the dough rises too much before it gets in the oven, it will collapse, rather than rise when it comes into contact with the oven’s heat, and the crumb will be uneven and ragged in appearance.
You can salvage it though by ‘knocking-back’ the dough, removing the gases, re-shaping and proving again.

UNDER-PROVED DOUGH
Generally, we would notice under-proved dough more easily, since it will have not have increased in volume as much as expected or directed in the recipe. But you can also test it.
To test for under-proved dough – using a finger or your knuckles, gently push on the dough. If the dough springs back immediately and doesn’t leave an indent, then the dough is not proved enough. This is an indication that the yeast is still producing gases and has not yet reached its limit yet.
So if that is the case, continue proving and keep the dough warm and draft free but be careful not to over-prove,

A NOTE ON HIGH ALTITUDES
Altitudes of 1,006 m (3,500 ft) have low atmospheric pressure, which results in the dough proving and rising more quickly than the recipe intends. In these instances, it is recommended to watch the dough and don’t let it rise more than specified. This rising too quickly will mean there isn’t full development within the dough. Some also recommend letting the dough rise twice before shaping. For altitudes of greater than 914m (3,000 ft), it is recommended to increase the temperature by 15c (59f) to help form the crust in the initial stages and prevent over-rising in the final minutes in the oven.
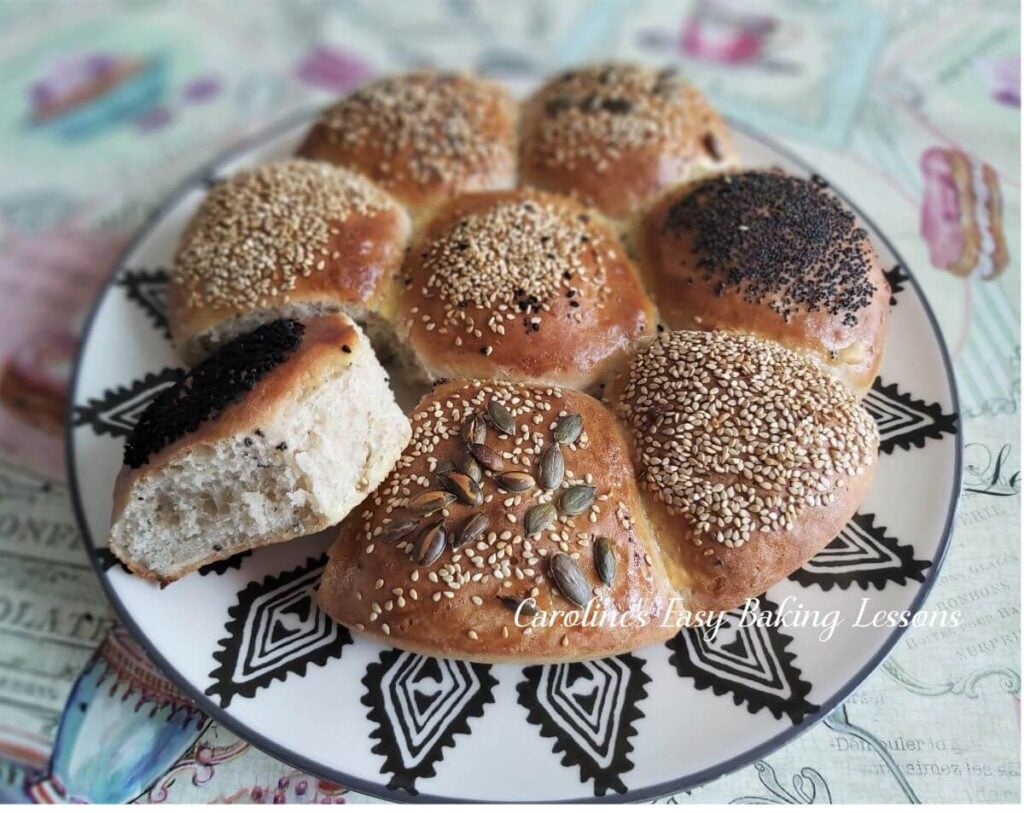
Thanks for reading & I hope you found this useful and encourages you to try bread making. If you are new to bread making, why not check out my Savoury Lessons sections, or my quicker yeast dough making – Quicker Tear-And-Share Dinner Rolls, that also includes a video tutorial used for a bake-along.
Please see the sharing options or even printing, at the right/bottom of your screen (bottom of your screen for mobiles, and down the right-hand side on computers). You can even pin this to your own Pinterest page. Alternatively, you can download this article, see below. You could also leave some feedback if you like.
Below is a little video on how to work with yeast dough:
Here’s also a newer video, for a bread bake-along I did – this shows my quicker method for working with yeast.
Happy Baking & Making
Happy Memories & Tummies!
Caro x


