Pumpkin Puree Guide UK

Pumpkin Puree Guide UK is for UK bakers looking to make pumpkin filled Autumnal recipes. Don't wait till Halloween for pumpkins to arrive in the supermarkets, make homemade pumpkin puree & freeze it to be used anytime you need in your baking. Works great too with butternut squash that is much easier to find.


***click to jump to section


Are you a UK baker and want to make some of those lovely pumpkin recipes you see on social media in Autumn? But can’t find any pumpkins, or don’t want to pay too much for buying a tin of pumpkin puree? I have you covered. Read on to learn how to make your own pumpkin puree anytime of the year.


Pumpkin Puree In The UK
Finding pumpkin puree or pumpkin pie filling in the UK is not easy at all. On the rare occasions you can find a tin/can of pumpkin pie filling, it will be in October, in the bigger supermarkets, (in speciality aisles or even Amazon), and very expensive since it is imported from America. (Buying Pumpkin Puree in Tesco is £1.70 & not currently available. Whereas a tin from Amazon is £5.491).
Pumpkins (by that I mean Jack-o-lantern type), don’t appear in the UK supermarkets until October. That might start changing over time with the increase in popularity of Autumn decorations you can find in all the stores these last few years.


Butternut squash, and other little squash varieties however, have been appearing in Aldi & Lidl, in October the last few years. (Some are pictured below). Butternut squash however, is available much more of the year and my research suggests they are available from late Summer to Winter.
So a much better solution, and what I have been doing for the last 4 years, is making my own homemade roasted pumpkin puree and freezing for using other times. You can use a combination of pumpkin & butternut squash, or even use just the squash. Tins/cans of pumpkin puree are actually made from a combination of squash varieties and butternut squashes are a lot more easy to buy.


Why Make Pumpkin Puree?
- Less expensive for UK bakers
- Can use anytime of the year
- Very easy to make
- Clean of artificial sweeteners, additives or preservatives
- No waste from pumpkins you carved
- Homemade is ALWAYS better!


Why use The Oven To Make Puree?
You could just cook the pumpkin on the stove top or even the microwave, but roasting it in the oven, increases the flavour.
It is also much easier using the oven, when cooking a lot of pumpkin. Especially when cooking with a large pumpkin or squash, as you don’t need to remove the hard skin before cooking.
If you already have the oven on for cooking something else, or has just been on, make use of that energy to cook your pumpkin rather than on the stove top. Small squashes are also easily roasted int he air fryer. Just cut the pieces much smaller.


How Much Puree Will It Make?
How much pumpkin puree you can make from a pumpkin, will depend on the size or weight of it in this case. So I have made some calculations below of how much puree you can make by weight of the whole pumpkin.
**Note I am referring to the Jack-o-lantern type we get in October in the UK. Butternut squash, although smaller, yield more flesh for their size.
| WEIGHT OF WHOLE PUMPKIN | AMOUNT OF PUREE PRODUCED |
| 5kg (11lb, 176oz) | Yields approx. 6 cups (1318g/46.5 oz) puree |
| 4kg (8.8lb, 141oz) | Yields approx. 4 3/4 cups (1.04kg/ 36.7 oz) puree |
| 3kg (6.6lb, 106oz) | Yields approx. 3 1/2 cups (765g/27oz) puree |
| 2.5kg (5.5lb, 88oz) | Yields approx. 3 cups (659g/23.25 oz) puree |
| 2kg (4.5lb, 70.5oz) | Yields approx. 2 1/3 Cups (510g/18 oz) puree |
| 1.75 kg (3.8lb, 61.7oz) | Yields approx. 2 cups (454g/16 oz) puree |
| 1.6 kg (3.5lb, 56.5oz) | Yields approx. 2 level cups (425g/15oz) puree |
| 1kg (2.2lb, 35.25oz) | Yields approx. 1 1/4 level cups (269g/9.5oz) puree |
| 833g (1.8 lb, 29.25oz) | Yields approx. 1 cup (227g/8 oz) puree |
| 1 cup puree = 227g/8 oz |


Butternut Squash Alternative
If using pumpkin and butternut squash (or any other squash), just roast in the same way as the pumpkin. It might take a shorter time to cook though if your pieces are smaller. Mix the two together, and puree as below.
The butternut squash adds a nice deeper orange colour to the puree and better flavour too. Note that average sized butternut squash, (UK) will make about 1 cup, 227g/8 oz worth of puree.


The Recipe Process In Photos
1st Stage – Cutting The Pumpkin
Begin by cutting up your pumpkin. The first cut of a large pumpkin is always the hardest. But if I can manage, you can too. I begin by using a large, sharp, strong knife & stab to make an initial hole. From there it is easier to start cutting around it till cut in half.
Once halved, scoop out the seeds & what are referred to as the ‘guts’ of the pumpkin, (see in bottom two picssin photo collage 1). I use a large strong spoon or a ice-cream scoop, to push down and scrape the contents out into a bowl. Place to the side for later.


Next cut in half & again a few more times before cutting into chunks, about 1″/2.5cm to 2″/5cm. No need to be exact, but try and keep about the same size for even cooking.
For smaller squashes you can cut into smaller chunks. Remember, no need to cut the skins off the pumpkins or squashes.
You can alternatively, cut the pumpkin into quarters or 1/8’s but note those will take much longer to cook.
**TIP – to help in cutting butternut squash, first pierce the squash about 10 times over the skin, before placing in the microwave for about 7 – 10 minutes, until soft enough that you can cut up the squash.


2nd Stage – Roasting The Pumpkin
Next stage in making pumpkin puree, is to cook & roast the pumpkin pieces. Oven bake till cooked through and easily mashed with a fork. (Temperature & timings in Recipe Card below).
Once at this stage, simply mash with a fork and then scrape off of the pumpkin skin and place into a bowl.


3rd Stage – Pureeing Roasted Pumpkin
Third step in making your own roasted pumpkin puree, is to puree the cooked pumpkin.
Use a food processor or blender to simply blitz the roasted cooked pumpkin/squash, till it is smooth, thinner and consistent in texture. Similar to baby food 🙂
See Photo collage 4.


Final Stage – Removing Excess Liquid
Final stage is to remove excess liquid from your roasted pumpkin puree. You could leave it, but note you would need to remove it for most of the recipes you want to use it for. Too much moisture, in for example pumpkin muffins, or Wholewheat Butternut Squash Banana Bread, can produce an overly moist & almost soggy cake. Recipes that call for can/tins of pumpkin puree also have the excess liquid removed before canning.
To remove the excess liquid from the pumpkin puree is very simple. Like for vegetables such as courgette (zucchini), you wrap in a clean tea-towel, close up & squeeze out as much liquid by hand as you possibly can. As an extra measure, I leave the closed towel (tied with a peg/clip), in a sieve, over a bowl or jug for at least 30 minutes. Come back & there will always be some liquid collected.


Storing Roasted Pumpkin Puree
Once you have removed excess liquid from your homemade pumpkin puree, you can use directly in any recipe.
Alternatively, store in an air-tight container in the fridge for up to 4 or 5 days2
What I tend to do is place in strong plastic food bags/pouches & freeze the pumpkin puree, especially when it’s only seasonal for a short time in the UK. Properly cooled and stored pumpkin puree will be fine frozen for up to 9 months.3 Read more on safely preparing & freezing pumpkin and retaining its colour on website Freezeit.co.uk on their Freezing Pumpkin article.


Using Pumpkin Seeds & ‘Guts’
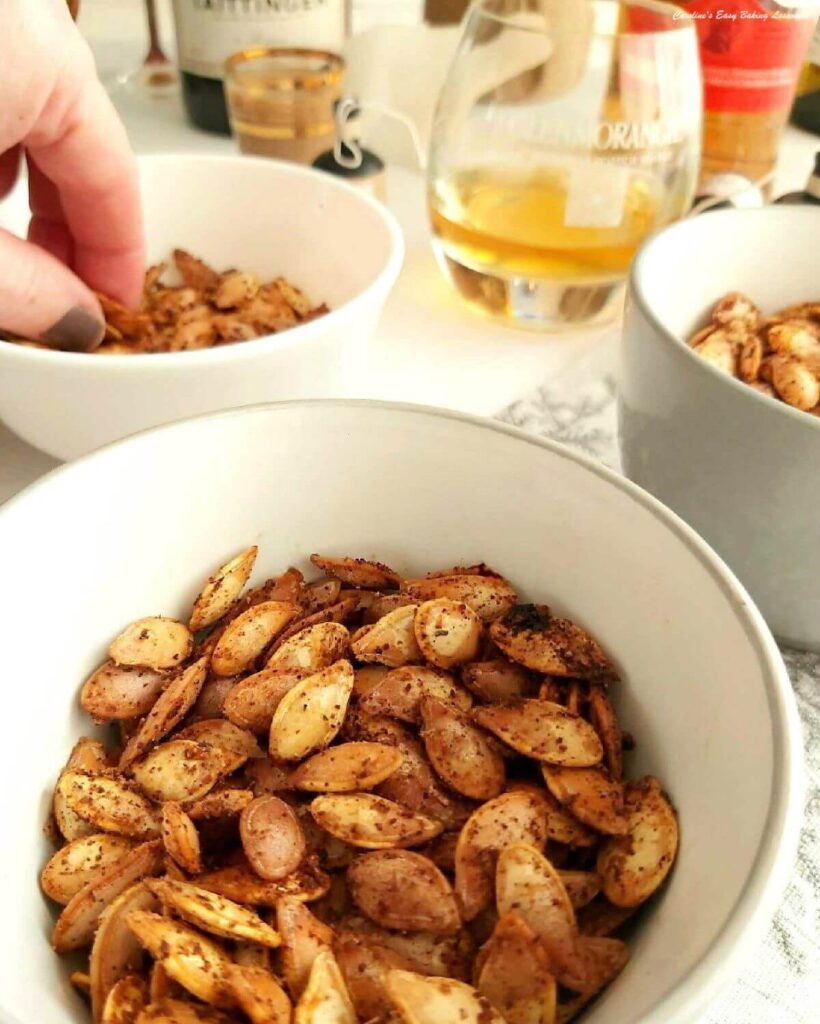
Don’t throw away the seeds & insides of the pumpkin you scooped out. You can roast the pumpkin seeds for a healthy snack and the pumpkin ‘guts’ can be used as extra fibre for things like soup. See my article on How To Use Every Part Of A Pumpkin for no food waste.
How To Clean The Seeds
Separate out as many of the pumpkin seeds as you can. You can tease some of the seeds from the pumpkin ‘guts’ with a fork, or use your hand, grip and then try and slide the seeds off. Next run the seeds under cold water, held over a sieve or colander, and thoroughly clean the seeds as much as you can.


From there it is a case of letting the seeds dry completely before you season and roast them. To do this, pat dry with a clean tea-towel and then spread out evenly on top of a baking/parchment lined tray.
Place this tray somewhere warm, (I use on top of the radiator if it is on) and leave overnight or longer if needed. If it is taking too long, you might need to replace the paper with fresh dry paper. Don’t use kitchen paper/paper towels as the wet seeds can stick to it when drying. See my recipe for Roasted Pumpkin Seeds.
DIFFICULTY LEVEL: super easy, beginner


Check my recipes using pumpkin/squash puree in my Autumn/Fall baking page. Also check out my article on how to use every part of the pumpkin for no food waste.


Recipe Card
Roasted Pumpkin Puree UK

Equipment
- Chopping Board
- Large sharp knife
- Baking trays/sheets
- Baking/parchment paper
- Fork
- Food processor or blender
- Clean Tea-towel
- Sieve
- Bowl or jug
- Scales/measuring cups (optional)
Ingredients
- 1 Whole Pumpkin (see below for sizes & yield)
- 1 Butternut Squash (optional for giving a deeper flavour and colour & more like a can of pumpkin pie filling)
Instructions
PREPARE THE PUMPKIN
- Heat oven to 180°c/160°c fan/350°f, Gas Mark 4
- Start by cutting the pumpkin in half very carefully. Once the first half is cut, it's easier to do the rest. Next scrape out the seeds & 'guts' of the pumpkin with a spoon or scoop, (see notes for uses). Cut each half into quarters and then into slices and cut these into cubes, roughly 1"/2.5cm or 2"/5cm size. (You can leave in much bigger pieces or quarters, but it will take longer to cook). No need to cut off the pumpkin skin.
- Next line baking sheets/trays with baking/parchment paper and then place the pieces of pumpkin on top. Make sure they are all apart.
ROAST THE PUMPKIN
- Place in the oven and bake for about 40 -50 minutes, until golden and soft all the way through. Check one piece (a large piece if possible), by mashing with a fork. If you can mash it easily, it is ready. If not, cook a few more minutes and check again.
- Once ready, remove from the oven and place on cooling racks. Leave 10 – 15 minutes to cool down a little.
- Take a fork and mash the pumpkin. Do this while holding the skin and slide it off the skin. Remove the skin from the baking sheet and continue on as before until you have a pile of mashed pumpkin.
PUREE THE PUMPKIN
- Place the mashed pumpkin in a large processor (use in batches if a small processor –an immersion blender might also work). Process till thinner, a consistent texture and puree like in appearance
DRAIN EXCESS LIQUID
- Place the puree on to a clean tea-towel, close together and squeeze out the liquid. Do this a few times and then, (with the tea-towel still closed – you can tie it shut with a peg or clip), leave in a sieve positioned over a jug or bowl for at least 30 minutes. This will remove the liquid that is not needed if you are using in a recipe that has called for a tin/can of Pumpkin Puree.
USE, STORING & FREEZING
- Use in a recipe directly, store in an airtight container in the fridge for 4 to 5 days4, or freeze on the same day. I like to place 1 cup worth/221g (or 2 cups/442g) in a thick food baggie/pouch as recipes often call for this amount. Then I flatten, letting the air out and then seal and it doesn’t take up too much room. Be sure to label the bag and date it. Can last safely up to 9 months5.
Notes
- 5kg (11lb) Pumpkin yields approx. 6 cups (1318g/46.5oz) puree
- 2.5kg (5.5lb) Pumpkin yields approx. 3 cups (659g/23.25oz) puree
- 1.75kg (3.8lb) Pumpkin yields approx. 2 cups (454g/16oz) puree
- 1 average sized butternut squash, (UK) will make about 1 cup, 227g/8 oz worth of puree.
- 1 cup puree = 227g/8oz

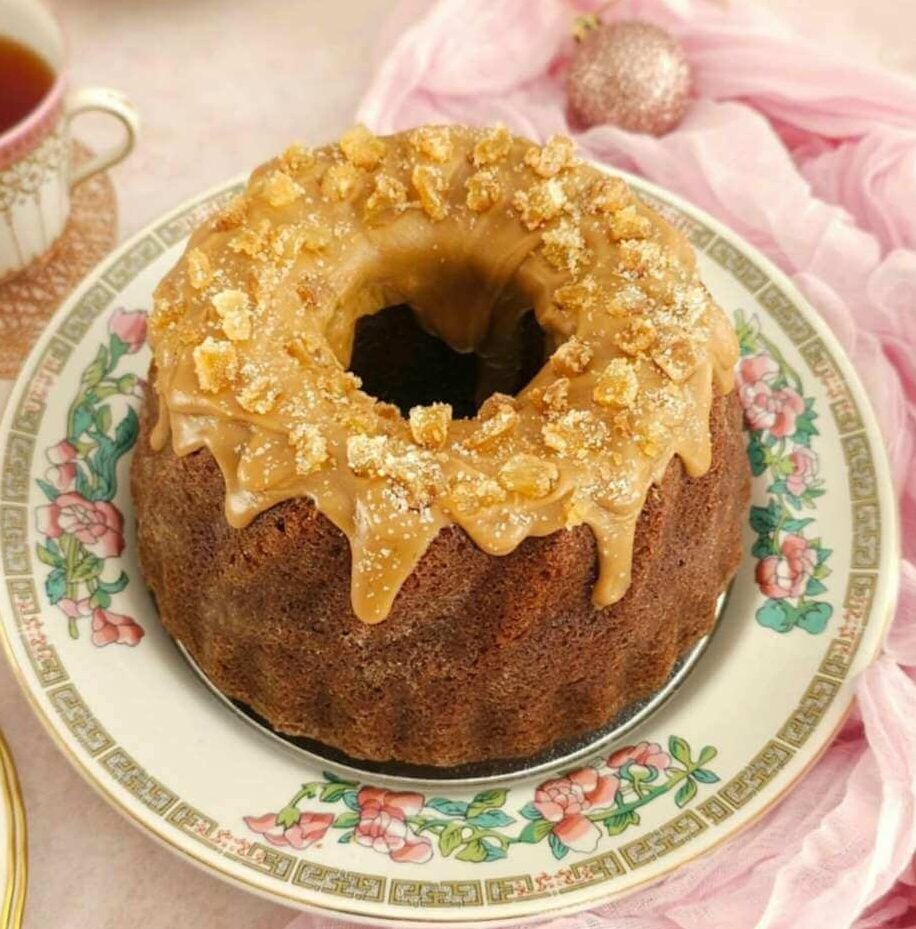
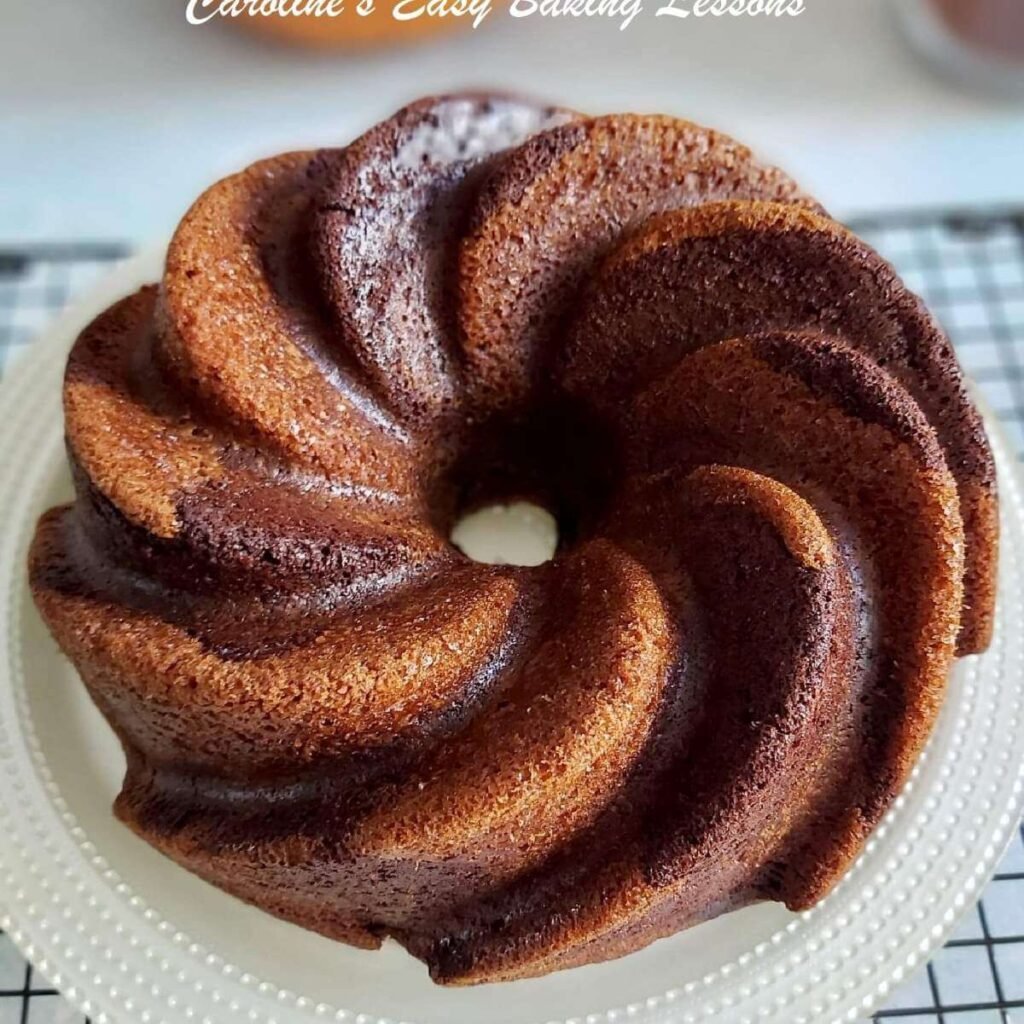
 Try some of my Autumn/Fall recipes to use your homemade oven roasted pumpkin puree. Here is chocolate pumpkin muffins, or how about Wholemeal Butternut Squash Banana Bread? Go to Autum recipes page. Or, roast those pumpkin seeds (see above).

 Quick pumpkin spice buns.
Also check out my article on how to use every part of the pumpkin for no food waste.
Quick pumpkin spice buns.
Also check out my article on how to use every part of the pumpkin for no food waste.
References: 4 & 5 from website Freezeit.co.uk, article ‘Can You Freeze Pumpkin?’
Nutrition: I am not a qualified nutritionist and all values are estimated and based on 16oz/453g (2 cups) of homemade roasted pumpkin puree.
Check out some other seasonal recipes by clicking on the images below, or go to the Autumn page.


Subscribe For More Recipes
Want more great recipes, tips, baking information and newsletters? Then please consider subscribing by adding your email address below. Be sure to check for a confirmation email & respond back, so you can follow me & receive your free emails. Your personal information will not be shared with a third party.
Join My Facebook Group
Why not also join my – Facebook group Easy Online Baking Lessons, dedicated to this baking lessons website, as well as providing one-on-one support with myself & my team? Be sure to answer all security questions when requesting to join.
Follow me on social media:
Happy Learning & Baking!
Caro x


Pumpkin Puree Guide UK
Search For Something You Fancy!
Caroline’s Easy Baking Lessons
References
1 Cost of tin of Pumpkin Puree from Amazon – Amazon Pumpkin Puree
2, 4 Storing pumpkin/pumpkin puree in fridge, taken from website Freezeit.co.uk, citing article ‘Can You Freeze Pumpkin?‘
3, 5 Freezing pumpkin/pumpkin puree, taken from website Freezeit.co.uk, citing article ‘Can You Freeze Pumpkin?‘


Love the table of contents. This article is so helpful and informative and explains it all step-by-step. Love the new website too so easy to navigate. Thank you.
Love the new updated website and so easy to navigate and looks lovely. The pumpkin puree info is perfect for us in Britain when we see all these pumpkin spice latte drinks and bakes on social media. So glad we can get in on the act now too. Thanks