Easy Chocolate Orange Whipped Ganache

Here is my Easy Chocolate Orange Whipped Ganache recipe for bakers. Learn how to easily make this bakers' friend that is used for covering cakes, filling cupcakes & making truffles.
Easy Chocolate Ganache


**Click link to jump to section**
***Posted 14/02/21, updated photos 10/02/24


What Is Chocolate Ganache?
Chocolate Ganache is a soft luxurious chocolate mixture. An emulsion made just from double (heavy/whipping) cream and chocolate, it can be used as a simple drizzle over cakes or left to set firmer with a buttercream appearance, to be used to pipe or fill cupcakes. You can also very simply make chocolate truffles with ganache. See my Protein Chocolate truffles recipe.
Chocolate ganache can also be whipped. This not only makes the colour lighter, but it incorporates a lot of air into the mixture, making it increase in volume, as well giving a ‘lighter’ taste.


Ingredient Notes
Chocolate ganache is made of only 2 simple ingredients:
- Cream (Double/Heavy/Whipping)
- Chocolate
Ingredient amounts are given in the Recipe Card below. However, if you have a different amount of cream, it is simple to work out how much chocolate to use. Using a ratio of 1:1, you only need to match the weight of cream with the same total weight of chocolate.
Example being 8fl oz cream (227g) would require a total of 8 oz of chocolate (made up of both milk/semi-sweet & dark/bitter chocolate).


Cream
To make chocolate ganache, you must have double cream, also known as heavy or whipping cream. In some of the photos I have used UK Elmlea Double Cream. This is the longer life cream that is easy to find, and it whips up perfectly, just as much as fresh cream. And it works for making chocolate ganache too. So a handy alternative to have stored in your fridge for in case.
Chocolate
The second component for chocolate ganache is chocolate of course. Now I will discuss the ratio of chocolate to cream below, but first – what kind of chocolate to use?


You need ‘real’ chocolate for chocolate ganache. By that I mean chocolate made from cocoa butter, rather than made up of vegetable fats. I am not sure we have these kinds of chocolate here in the UK but they are found in the US.
However, you do not need to be paying for premium 80%+ cocoa content chocolate to make your ganache. For baking, I usually use Aldi’s own brand, lowest priced chocolate. For the ganache, I use a combination of the dark (bitter/plain) chocolate & milk (semi sweet) chocolate. When using less expensive chocolate, make sure there is some dark/bitter chocolate in it, as it increases the cocoa content the end taste is just as good as more expensive brands of chocolate.


**Full disclosure, I am not sponsored by Aldi & have not received any incentives, I just like & use their chocolate regularly.**
If using only milk (semi sweet) chocolate, a slighter higher price range chocolate, or even baking chocolate, will yield a better taste. (Note US professional baking chocolate can be termed ‘Couverture’ but the chocolate found in the baking aisle in the UK will also work).
It does also come down to personal taste. For this recipe, a 50/50 milk and dark chocolate gives a rich dark chocolate over-all taste.


Using 100% dark chocolate is just too heavy and bitter. If you find my recipe too bitter, play about with the ratio and add more milk (semi-sweet) chocolate. Just remember to keep the amount of cream to the same total amount of chocolate.
- This chocolate ganache recipe uses a 1:1 ratio of chocolate to cream.
- For white chocolate, the ratio is more like 3:1 – 3 parts white chocolate to 1 part cream.
- For hot or humid environment, a 4:1 ratio might be better.
The ratios can also change depending on what consistency you want for a particular use of the ganache, as well as if the environment is hot or humid. To maintain consistency, you always want to use the same type of chocolate.
Step-By-Step Instructions


1. Make the ganache by first breaking up and then chopping the chocolate, as this will make melting much quicker. See Photo 1 above.


2. Heat the cream on the stove or microwave till warm. On the stove top, you want to heat on a medium heat just until it starts to bubble, but not as hot as boiling, more of a gentle simmer. For the microwave, use a large microwave safe bowl, and heat in 1-2 minute intervals, mixing in-between because there can be hot spots. This can take about 3 – 4 minutes depending on the power of your microwave. Just make sure the bowl is warm but not boiling and always check on it so it doesn’t boil over.
3. Next, if you heated the cream on the hob, transfer to a large mixing bowl.


4. Add the chopped chocolate to the bowl of warm cream.
5. Leave for 10 minutes and don’t stir yet. You can place a clean tea-towel on top of the bowl if you like. See Photo 3.
6. Next, carefully mix the melting chocolate into the warm cream until combined (homogenized). A very satisfying process as it suddenly becomes a luxurious chocolate mixture. See Photo 3, or watch the video below!


7. Leave the chocolate ganache to cool down for about 30 minutes if you want to use as a drip for some cakes with long drips or to completely flood a cake. (See Photo 4 where it is just been made & not had any chilling).
8. If you want to pipe it, or use as a frosting like a buttercream for filling a cupcake, or making chocolate truffles, let the ganache chill longer to firm up to a spreadable consistency. Chill in the fridge for about 3 hours (or overnight – just cover with cling film/plastic wrap). Or leave out of the fridge if the room is cool.


Chilling/Firming Hack
Just after you mix the chocolate into the cream, you can speed up the chilling/setting process by spreading the chocolate ganache onto a tray, such as a metal cookie tray/sheet. This will spread the ganache out into a wider area but with a shallower depth than in the mixing bowl. This in turn allows the ganache to cool and hence set faster. Just pop in the fridge for 30-45 minutes. Metal cookie trays/sheets are excellent for this. See Photo 5.


After just 30 minutes in the fridge, on this thick metal KitchenAid cookie sheet, the chocolate ganache was a thick spreadable consistency. (Similar to smooth peanut butter consistency). I was able to scrape with the spatula and scoop into the bowl, as opposed to the pouring consistency in Photos 4 & 5 above. See Photo 6.
This ganache can now be used like a buttercream frosting or added inside cupcakes. It will be soft, but if you want it to firm up more, simply transfer to a bowl and allow to chill to the desired consistency. You can leave overnight if you wish. (See Photo 7 below, before further chilling)


Whipped Ganache


Another great technique is to whip the ganache.
- Increases the volume
- Lightens the colour
- Lightens the texture
To whip chocolate ganache, leave or chill till this medium firm consistency like in photo 7 above. Then whisk with a hand-mixer or stand mixer, until the volume increases, colour lightens & texture changes. Note the texture will be more aerated in appearance. See comparison photo 8.


FIRM SET OVERNIGHT GANACHE
The ganache can be placed in the fridge overnight for a firm-set consistency. See Photo 9, where it has much more body to it. From here you can make truffles, or if using on a cake, leave out at room temperature till the consistency you want. Make sure not too hard if piping.
Flavouring Chocolate Ganache
It is very easy to add some other flavours to your homemade ganache. A favourite of mine is to add some orange extract. You can add the flavouring to ganache just before leaving to set, or after whipping.
Simply mix until all is evenly incorporated & a level of flavour you are happy with. So don’t be afraid to taste test. For this batch, I used about 2 tsp orange extract.


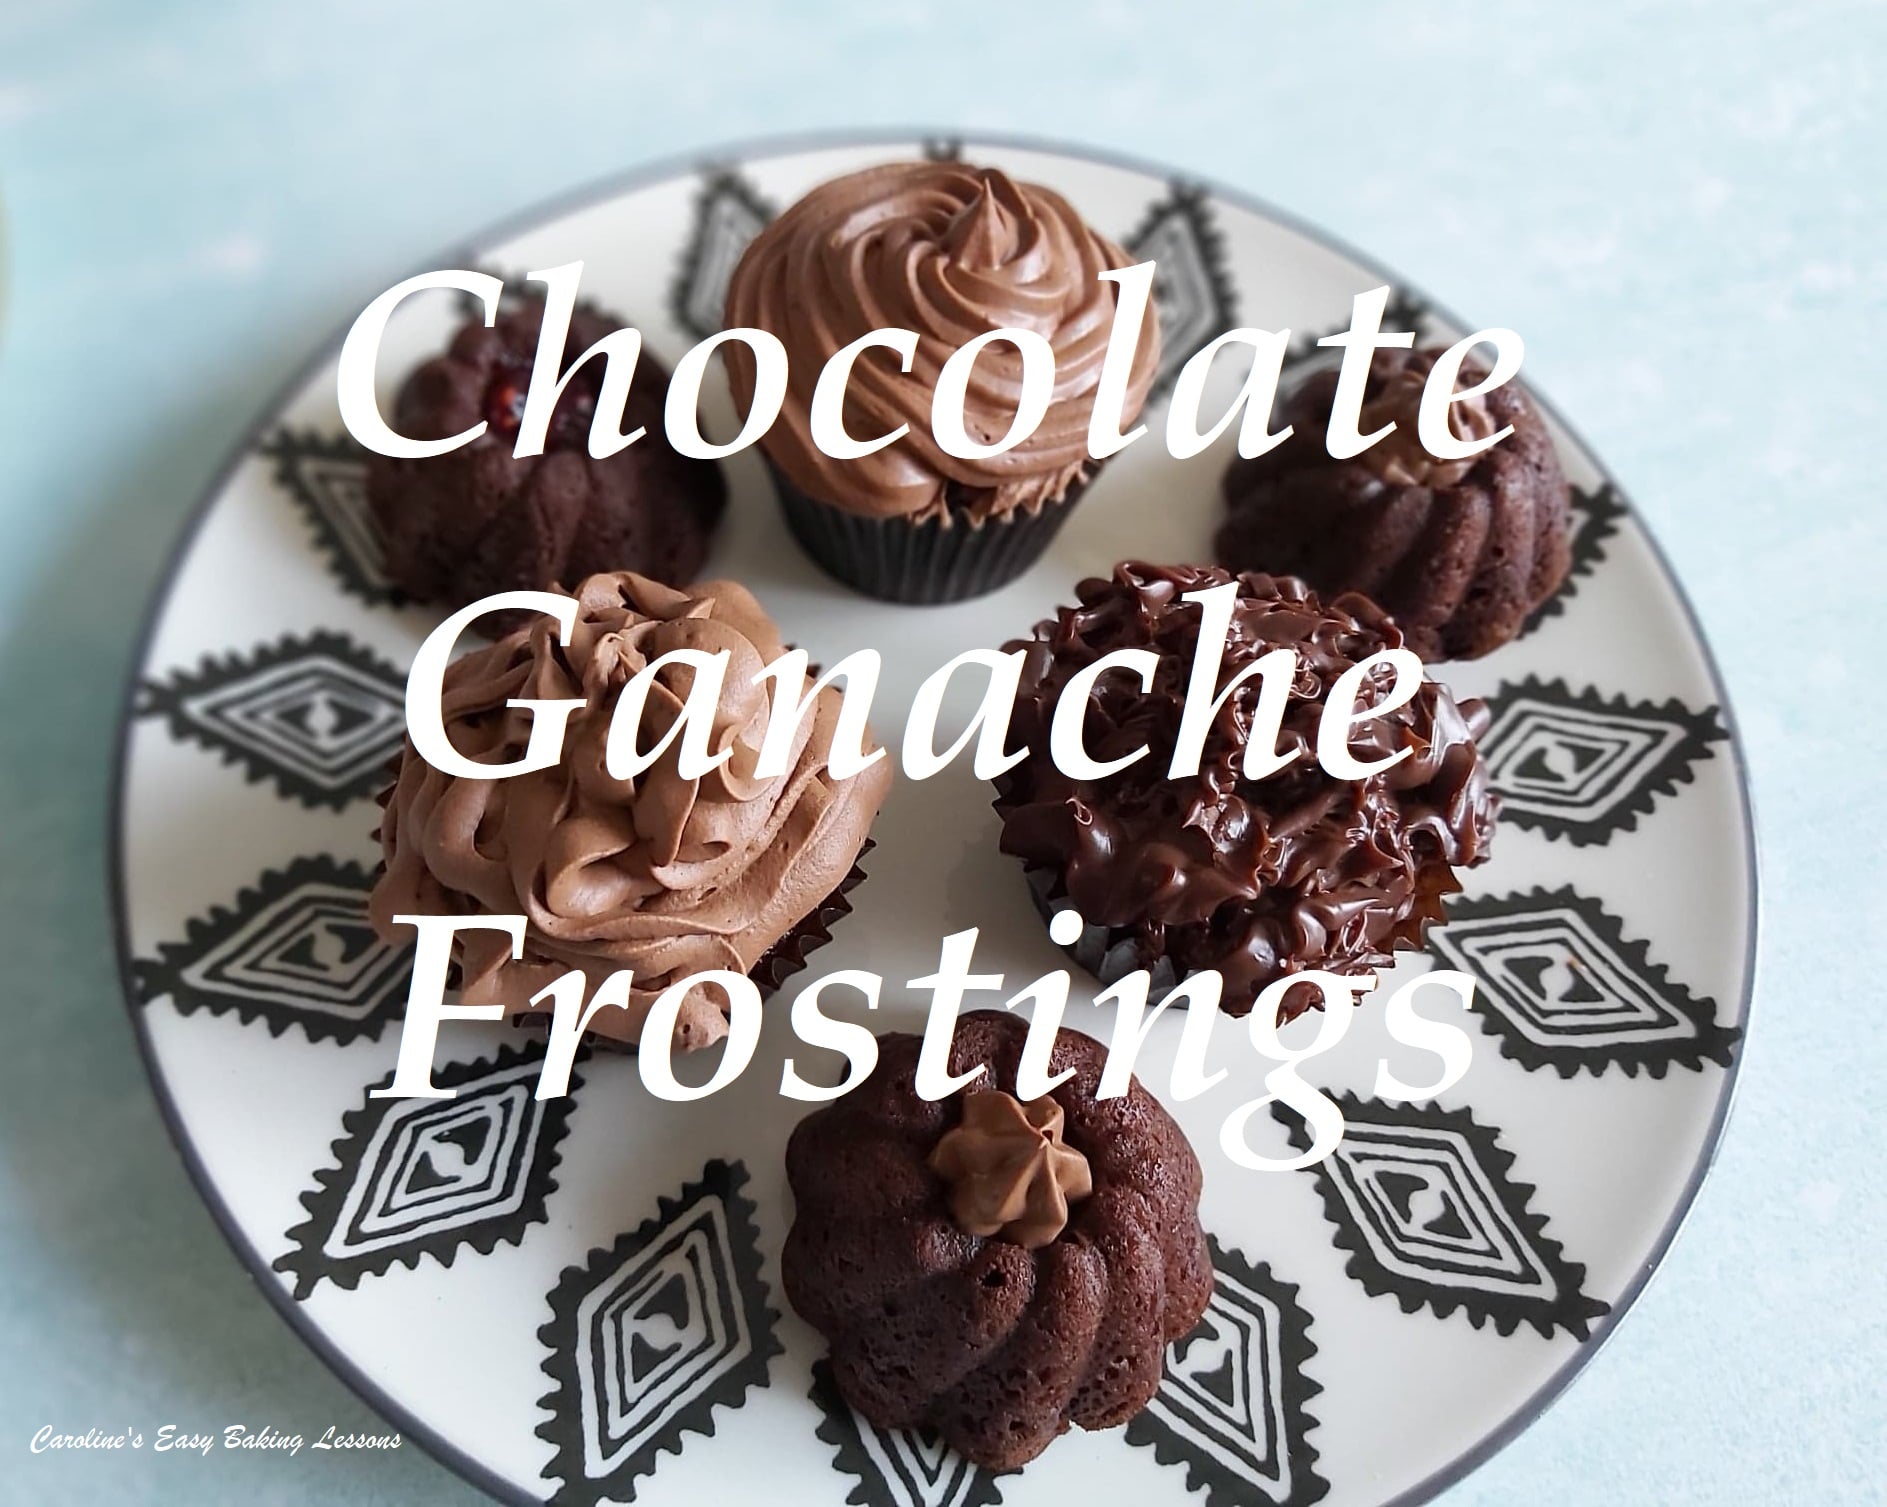
Uses For Chocolate Ganache
At this medium firm consistency, or after whipping, you can use the ganache to pipe, cover or fill cakes & tarts.
Chill for at least another 30 minutes, and you can use to make chocolate truffles. (see photo below)
Fill cupcakes, or in the centre of mini bundt cakes, (like in the photo), for a light filling, or chill inside of the cakes, for a firmer texture that you can cut through.


Storing Ganache
Chocolate ganache should be stored with cling film/plastic wrap on the surface of the ganache and then covered again or in an air-tight container.
Store covered, out at room temperature for up to 2 days1 or in the fridge for at least 1 week2.
Ganache can also be frozen for up to 3 months3, by making sure to remove any air, before covering & then placing in an air-tight container.
DIFFICULTY LEVEL: easy, beginner
Recipe Card
Easy Whipped Chocolate Orange Ganache

Equipment
- Scales or measuring cups
- Microwave-safe bowl (or pan for the stove)
- Chopping board and large knife
- Mixing spoon/spatula
- Hand/stand-mixer if whipping
- Measuring Spoon (if adding flavouring)
Ingredients
- 300 ml Double Cream (10 fl oz, 1¼ cup, Heavy/Whipping Cream*)
- 150 grams Milk Chocolate (5¼ oz, Semi-sweet Chocolate*)
- 150 grams Dark Chocolate (5¼ oz, Bitter/Dark Chocolate*)
- 2 tsp Orange Extract (optional, or other concentrated flavour)
* denotes see notes below
Instructions
Prepare The Cream
- Start by heating the 300 ml Double Cream in the microwave till warm not boiling. Use a microwave-safe bowl & heat in 1-2 minute intervals till warm. Alternatively heat on the stove top on a medium heat just until starting to bubble. Do not let it boil.
Prepare The Chocolate
- While the cream is heating, prepare the 150 grams Milk Chocolate & 150 grams Dark Chocolate by breaking into squares and then chopping with a large knife into smaller pieces.
Make The Ganache
- Once the cream is warm, add the chopped chocolate but DO NOT STIR yet! Leave for 10 minutes. If you used the stove top, you can transfer the cream to a mixing bowl before adding the chocolate or do so afterwords.
- After 10 minutes, carefully mix the melting chocolate into the warm cream until it is all incorporated.
Using For A Drip Cake
- If using for a drip cake or to flood a cake, leave the warm ganache for 30 minutes before you do so. No need to chill.
Firming The Ganache
- If you want to use the ganache for piping or filling cakes, or making truffles, the liquid ganache needs to set up more. This can take about 3 hours in the fridge to produce a spreadable consistency or what I call semi-firm.
- Tip For Quicker Setting/Cooling – transfer the warm ganache to a clean metal cookie tray (cookie sheet). This wider surface area will make the ganache cool and set quicker. This can take 30 – 45 minutes in the fridge, to become a spreadable consistency similar to smooth peanut butter. (See before recipe card and video for reference). The ganache is now ready to use.
- If you want the ganache firmer with more body, allow to chill for longer or overnight. If the ganache is too firm for piping, leave to soften.
Whipping The Ganache
- To whip the ganache, simply add the semi-firm ganache to a large enough mixing bowl, or stand-mixer bowl and whisk until the colour becomes paler, the volume increases and the texture becomes more aerated in appearance.
Flavouring The Ganache
- You can flavour the ganache at any of the stages but I prefer doing at the end. Simply add 2 tsp Orange Extract to the prepared ganache and mix to combine. Taste test and add more, a ¼ tsp at a time if required.
Using The Ganache
- In the liquid form, ganache can be used for drip cakes or as a glaze on chocolate cupcakes. In the medium firm stage, fill mini bundt cakes with ganache, or use to make chocolate truffles.
Storing The Ganache
- Chocolate ganache can be stored in the fridge covered with cling film/plastic wrap or in an air-tight container. Or out on the worktop/counter is not too warm. Storing in the fridge, the ganache will be firmer with more body and last at least 7 days1 compared to about 2 days2 left out on a counter/worktop.
- To freeze the ganache, place in an air-tight container and then cover with a layer of cling film/plastic wrap before sealing the container. If using freezer bags, remove any air first as this can dry out the ganache. Label and well wrap the freezer bag and the ganache should last up to 3 months3. Freeze in smaller portions if needed.
- To defrost, slow defrosting is best for retaining texture. Defrost in the fridge for several hours or overnight. Once defrosted it will need to be left out to soften enough to use. Then you will need to mix the ganache vigorously to achieve the pre-freezing texture.
Notes
 Time To Make – based on chopping chocolate while cream heating, and on leaving the ganache a total of 40 minutes (for drip cakes, or using the quicker cool & set method above).
Check the cake recipes page for ideas to use with your home-made chocolate ganache.
Use ganache to make Chocolate Truffles.
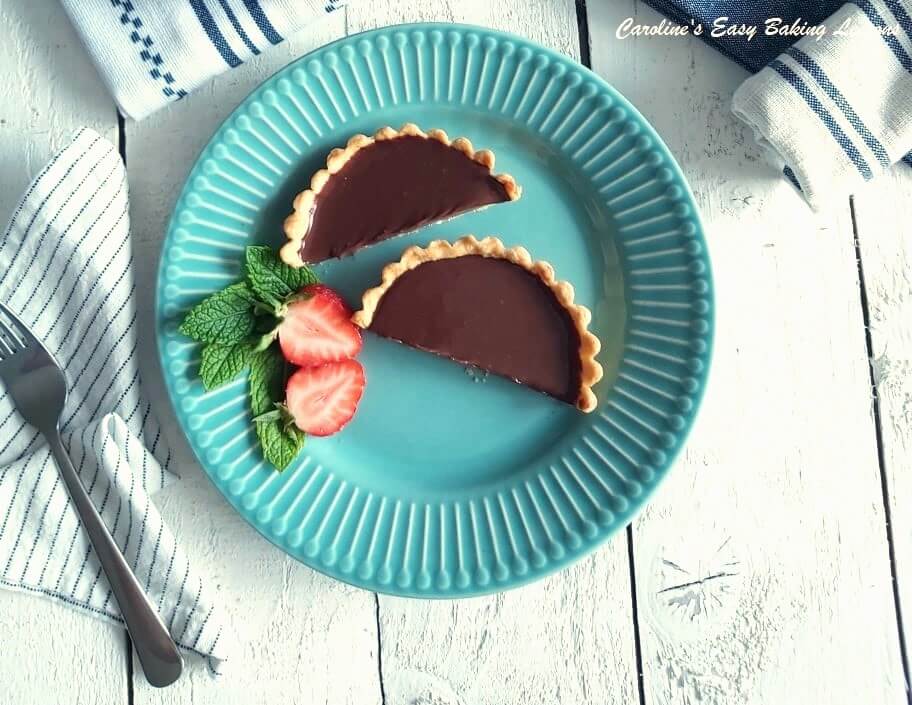
Check out other Glazes, Buttercreams, Sauces & Curds to use on your bakes. Or a slightly different version of ganache in these individual chocolate tarts.
Time To Make – based on chopping chocolate while cream heating, and on leaving the ganache a total of 40 minutes (for drip cakes, or using the quicker cool & set method above).
Check the cake recipes page for ideas to use with your home-made chocolate ganache.
Use ganache to make Chocolate Truffles.
Check out other Glazes, Buttercreams, Sauces & Curds to use on your bakes. Or a slightly different version of ganache in these individual chocolate tarts.

Reference: 1 Storing ganache in the fridge @ https://www.bbcgoodfood.com/glossary/chocolate-ganache-glossary/ 2 Storing ganache on a counter @ https://www.cakeflix.com/the-shelf-life-of-ganache-by-madeitwithlove/ 3 Freezing information taken from website Freeze It @https://freezeit.co.uk/can-you-freeze-ganache/
Nutritional Information –I am not a qualified nutritionist, and all values, are approximate, via website ‘MyFitnessPal.com’. For conveniance, 1 serving is calculated as 100g (3 ½ oz), about ⅓ cup, with a recipe yield of about 600g (7oz, 2 cup).
Follow me on social media:
Happy Learning & Baking!
Caro x


Easy CHOCOLATE GANACHE
Search For Something You Fancy!
Caroline’s Easy Baking Lessons
References:
- Storing ganache in the fridge @ https://www.bbcgoodfood.com/glossary/chocolate-ganache-glossary/ ↩︎
- Storing ganache on a counter @ https://www.cakeflix.com/the-shelf-life-of-ganache-by-madeitwithlove/ ↩︎
- Freezing information taken from website Freeze It @https://freezeit.co.uk/can-you-freeze-ganache/ ↩︎


So easy to follow and make.
Made this several times and came out amazing! Was great on cupcakes and in your recipe for truffles.