Quick Cheese Puff Pastry Swirls

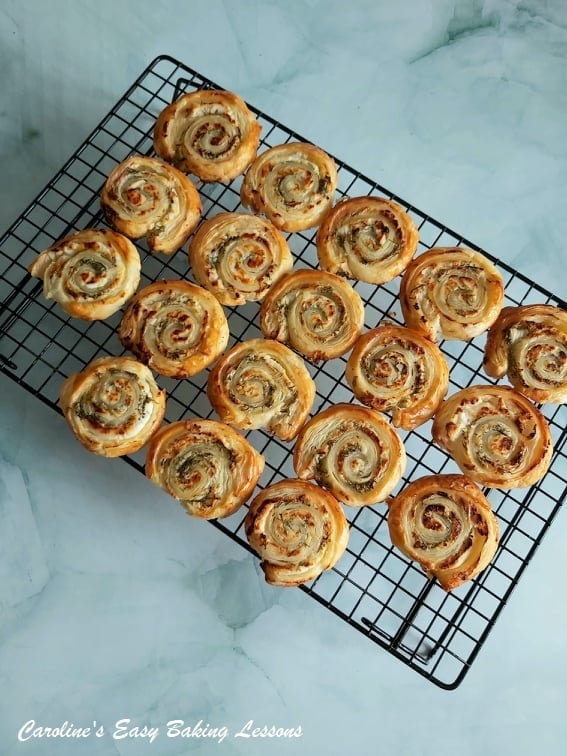
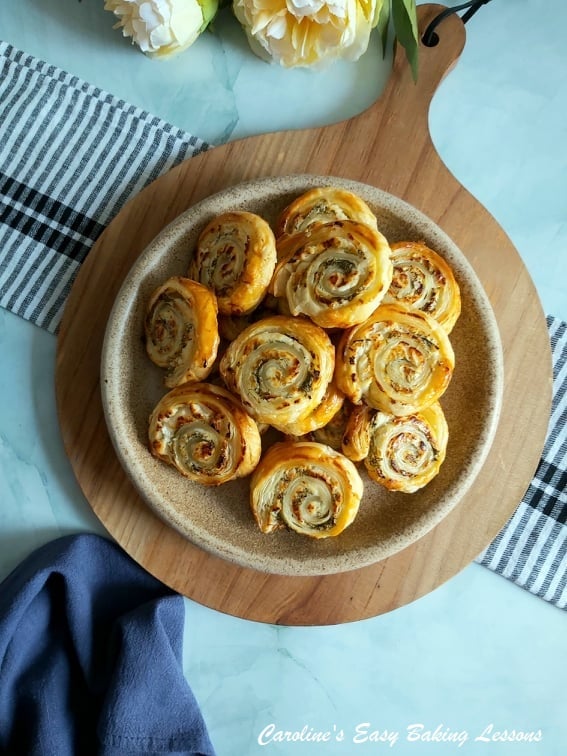
Here’s my simple recipe for making Quick Cheese Puff Swirls, using shop-bought puff pastry. A perfect, quick bake, great for entertaining & sure to please your guests.
Quick Cheese Puff Pastry Swirls
Part Of The Ways To Use Shop Bought Puff Pastry Series
For more quick puff pastry recipes – go to Cheese Pastry Twists, or try the new cream cheese version – Cream Cheese Pastry Swirls.
WHY USE MY RECIPE?

1. Quick

2. Easy

3. Looks Good

4. Tastes Good

5. No Special Equipment

6. Easily Adjusted

7. Inexpensive

Why Make Quick Cheese Puff Pastry Swirls?
1. Quick To Make
These Quick Cheese Puff Pastry Swirls are the easiest thing to make. No baking skills required at all. No need to spend most of the day making puff pastry, use shop bought.
The hands-on time of making the swirls only takes about 30 minutes, before popping them in the oven for the magic to happen. The whole process, including chilling, means they are ready to eat in about 1 1/2 hours. Much quicker than making your own puff pastry.
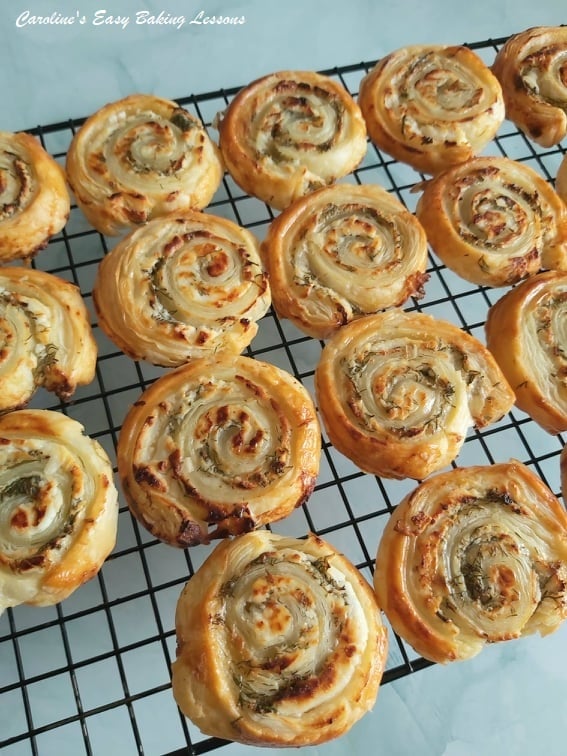
2. Easy To Make
The whole process of making these puff pastry swirls, is so simple even kids could make them. With only about 30 minutes hands-on time, of filling, rolling & cutting. No prior baking knowledge or skills required.
3. Looks Good
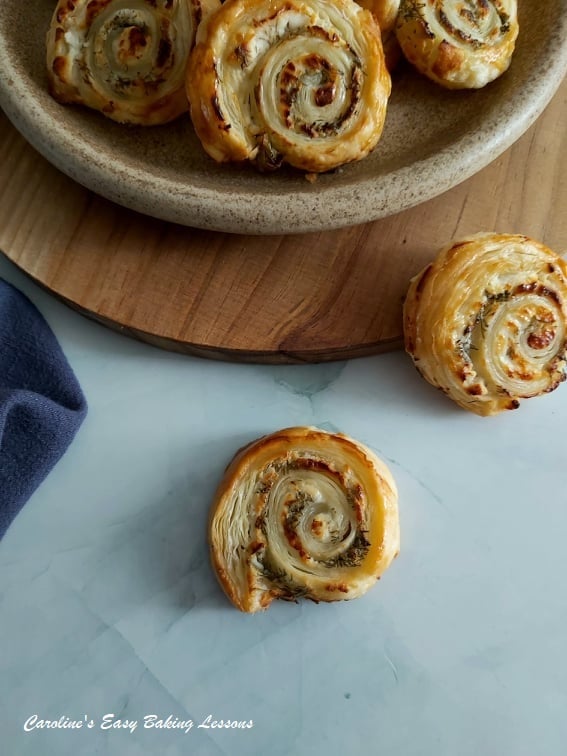
These deceivingly simple to make cheese pastry swirls, look not only tasty but you might fool some people into thinking you bought them. Or they might think you spent hours making them – that’s our little secret!

4. Tastes Good
The combination of buttery puff pastry and cheese, pair perfectly.
5. No Special Equipment
No special equipment is required to make these pastry appetizers. If you don’t have a rolling pin, a large glass bottle will even do. (And if you buy ready-rolled, no need for a rolling pin). Scales or measuring cups are not essential either – you can go by the weight on the packets & in the case of the cheese, use enough to cover the pastry.

6. Easily Adjusted
Use a different white cheese if need be and instead of dill, you can use your favourite green herb. Omit if you like, but the bright green gives an appetizing pop of colour.
7. Inexpensive
I find (at least in the UK), for it to often work out cheaper to buy puff pastry than make your own (but then the cost of butter has more than doubled in the last few years). You can of course buy shop bought pastry snacks, but unless you buy from the more high-end supermarkets, you won’t get near the same quality or taste of pastry.

A Note On The Ingredients
These cheese pastry twists can be made from 3 or 4 ingredients – puff pastry, cheese, dill & egg-wash.
Turkish Cheese – Peynir
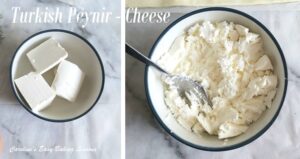
The cheese I used was Turkish white cheese – peynir (pronounced ‘pay-near’). The actual kind was a soft almost creamy type, that is used for Börek & Poĝaça (Turkish layered pastry, and cheese stuffed rolls). You can use Feta cheese, or any other soft white cheese. Cream cheese might work (full fat), but you would need to season it.
Use Any Favourite Herb
You don’t need to use Dill, and could easily use any favourite herb. Just make sure it’s thoroughly dried before adding to the pastry.

Puff Pastry
I use very little processed foods or ingredients, but puff pastry is one thing I do often have in my freezer. Go for the frozen kind as it has even less additives and preservatives in it. It takes time to master making puff pastry, as well as the time needed to make the hundreds of layers, so shop bought is ok!
Importance Of Egg-Wash
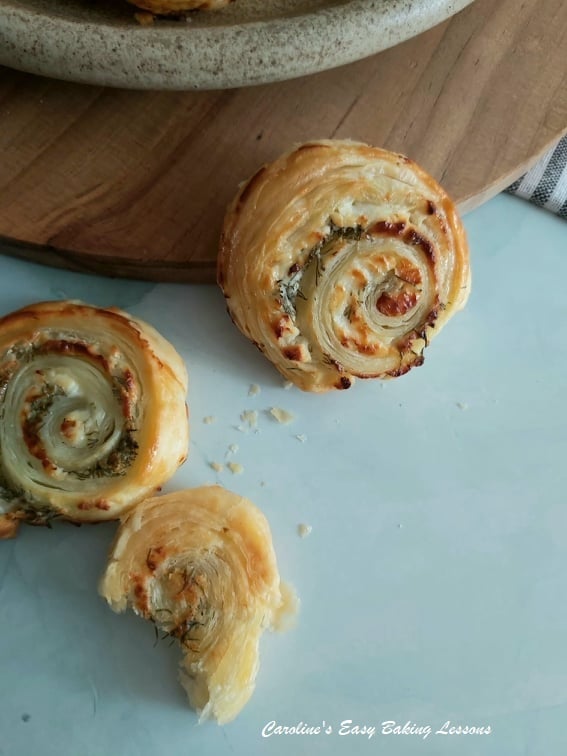
A whisked egg is brushed onto the cheese swirls, to give them a deep golden colour once baked. Egg-wash, is very important for pastry & bread. I often see people under-baking pastry & bread. it should never be pale and almost white. A deep golden colour, when the result of egg-washing, translates as flavour. Golden colouring is more appetizing but the egg-wash also enhances flavours. So don’t be shy, use egg-wash, apply plenty and don’t be scared of burning the bake. (See photo above).

Quick Cheese Puff Pastry Swirls
– Recipe Process Overview
This recipe could not be any simpler. It involves spreading the cheese and dill on top of shop bought, ready-made (& preferably ready-rolled) puff pastry.
The dough is then rolling up like a Swiss Roll/Jelly Roll, before chilling to allow the pastry to firm up a little and make slicing easier. (At this stage, you can leave in the fridge for up to 2 days before baking).
After chilling the rolled pastry dough is sliced to make 18 swirls, that are then placed on baking trays/sheets in the fridge to chill while the oven heats up.

The pastry snacks are then popped in the oven, and part way through, the egg-wash is applied to enhance the colouring and flavour. (I found it better in this recipe to not add the egg wash right before baking).
The swirls are then allowed to bake further, until deep golden. After a short cooling time, the swirls are ready to enjoy.
For freezing options of the Quick Cheese Puff Pastry Swirls, see notes at end of Recipe Card below.
Quick Cheese Puff Pastry Swirls
Quick White Cheese & Dill Pastry Swirls

Equipment
- Scales or measuring cups (optional)
- Large knife
- Chopping Board
- Butter knife or palette knife
- Tin foil (Aluminium foil)
- Baking tray/sheet x 2
- Baking/parchment paper
- Pastry Brush
- Timer
- Cooling rack
Ingredients
- 375 grams Puff Pastry, packet of ready-made, pre-rolled if possible (13¼ oz pack, approx. You can of course make your own. Frozen better as it has less additives & preservatives)
- 280 grams Turkish White Cheese – Peynir (9¾ oz, Similar to Feta cheese but softer. Similar soft white cheese could be used)
- Dill, roughly chopped (Optional, about handful)
Glaze – Egg-wash
- 1 Egg, beaten with splash of milk or olive oil (Any size of egg you have)
Instructions
Prepare The Pastry Swirls
- Begin by lining 2 baking trays/sheets with baking/parchment paper. Grease in place if they don't have a lip, or your bakes can fall off.
- If you bought the ready-rolled puff pastry, use the paper it's rolled in to work on. Alternatively, or if using your own home-made puff pastry, use a large piece of baking/parchment paper to work on. (At least 30x40cm/12×15¾"), and dust with flour if the pastry is sticky).
- My ready-rolled puff pastry measured – 26cm x 38 cm (10 inches x 15 inches). If rolling out your own, you want a rectangle shape about that size – while rolling neaten the edges into straight lines as you go. This saves trimming the dough if not the right shape. You can still use the off-cuts of pastry, but shaping and re-rolling puff pastry, results in less layers puffing up once baked. You want the pastry to be about 3mm/⅛" thick. For the ready-rolled, just leave as is. See Photo 1 below.
- Once happy with your rectangle, crumble the white cheese with a fork and spread evenly over the top of the pastry, leaving an edge of about 1/2"/1.25cm. Then place the roughly chopped dill on top. Or add any other favourite green herb. See Photos 1 & 2.
- Start rolling up the pastry, with the widest edge nearest you. This will give you more slices. Begin with a fold over and then carefully roll (using the paper if need be). As you roll, try to neaten the edges as you go and get tighter a roll as you get nearer to the end. Stop just before the end and use your index finger to flatten the pastry end a little to thin it. See Photo 2 above. Then finish rolling.
- Turn the roll of pastry over and press down on this join, smoothing together. See Photo 3 above. Turn back over and cut in half. Roll each half in foil, and tie the ends, before placing in the fridge for 30 minutes. (You can leave longer if you like).
- Once chilled and firmer, take one roll out of the foil & cut very carefully with a sawing motion, into slices about ½"/1½cm wide. You can mark on the pastry before cutting. You are looking for 9 slices in each half of dough. See Photo 5 below.
- Lift carefully and place on the prepared baking sheets/tray & re-shape to a round swirl if need be. The end pieces might not be quite swirls, but they can be the baker's taste test pieces.
- Repeat with the second roll of dough and leave a gap of about 1"/2½cm between each swirl.
Bake The Pastry Swirls
- Preheat your oven to: 200°c/180°c Fan Oven/400°f/Gas Mark 6 & place the puff pastry swirls in the fridge while the oven heats. If they are particularly soft, you can freeze or delay heating your oven.
- Place in the oven for about 7-10 minutes, when they will be beginning to set and puff up, but not cooked all the way through. Now take out the oven quickly and brush on the egg-wash on the tops and sides of the pastries. You can also do this before going in the oven, if your dough has been chilling longer & is very cold. I found brushing the egg-wash on while the dough is a little soft, is not as good. See Photo 7. Apply plenty & the result with be a nice deep golden colour. Don't be shy of colour – it's flavour!
- Bake another 15-20 minutes until deep golden and fully cooked through. See Photo 8. Check the bottoms of the pastries to make sure no raw centre or soft bottoms! They should also be a golden shade. Also turn and swap the 2 trays/sheets during the remainder of the baking time, to ensure an even bake.
- Remove from the oven and leave on the baking tray/sheet for 5 – 10 minutes, before transferring, paper and all, to the cooling racks to cool down completely.
- Eat once cooled, eat a little warm or leave out at room temperature if eating same day and the environment is not too warm. Best served same day for fresh pastry taste.
- Store these pastries in the fridge or somewhere cool if not eating on the same day. Store in a very airtight container/tin, on the baking/parchment paper you used. Will last about 3 days after baking.
Notes
 Use an alternative favourite green herb if you don’t have dill.
Try and use frozen shop-bought puff pastry as it has less additives & preservatives in it. Or make your own puff pastry!
You can prepare the swirls ahead of time, up to chilling in the fridge before slicing, or after slicing. Leave in the fridge no more than 2 days and leave out at room temperature for 15 minutes before baking.
Can be frozen before or after baking. Wrap baked slices separately in baking/parchment paper and then some cling film/plastic wrap or foil before placing in a food baggie. Be sure to label and date. For frozen un-baked rolls of dough, wrap 2 rolls like above. Defrost at room temperature on top of a piece of kitchen paper/paper towel to absorb any moisture. For unbaked rolls, leave out at room temperature for 15 minutes before baking and bake a little longer.
Go to more pastries & quick bakes – New Year & Pary Bakes
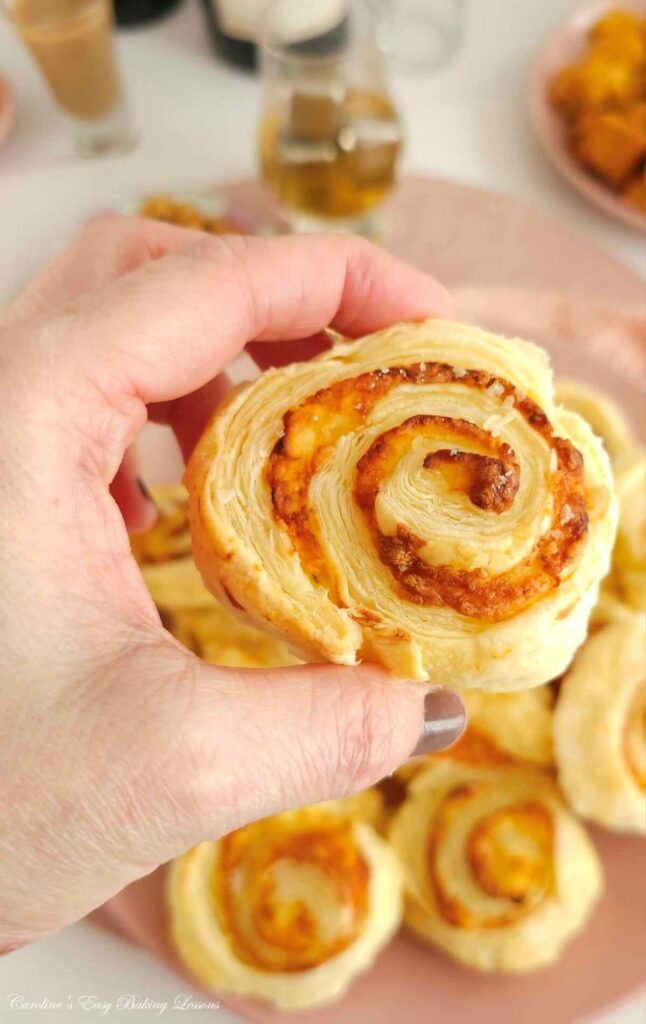 Try the new recipe with different filling (photo above)- Quick Cream Cheese Pastry Swirls.
Nutrition – I am not a professional nutritionist & all nutritional information is approximate and calculated with the above ingredients & recipe yield, via website MyfitnessPal.com. It assumes 18 pieces were made and 1 serving is based on one cheese pastry swirl. Make less or more twists, and the nutritional values will change.
For more party recipes, go to New Year & Party Bakes page

SIGN UP FOR MY NEWSLETTER – I would love it so much if you could sign up for my newsletter. I will send out monthly emails, showing the latest recipes and articles, and latest info. Being a site without ads, building a following, is even more important and will keep it up and running and for free to everyone. Occasionally there will be the odd seasonal emails, but is really a means of reaching you, if you are not already in one of the Facebook groups I admin. Please note too, that these email addresses are not shared or sold onto another party. Thanks so much Caro xxx

Share The Love
Please see the sharing options or even printing, at the right/bottom of your screen (bottom of your screen for mobiles, and down the right-hand side on computers). You can even pin this to your own Pinterest page. Alternatively, you can even print the recipe, with or without photos, via the Recipe card above. You could also leave some feedback if you like.
DIFFICULTY LEVEL: Super easy, Beginner
Follow me on social media:
Thanks for reading
Happy Baking & Making
Happy Tummies & Memories!
Caro xx
Leave some feedback 🙂

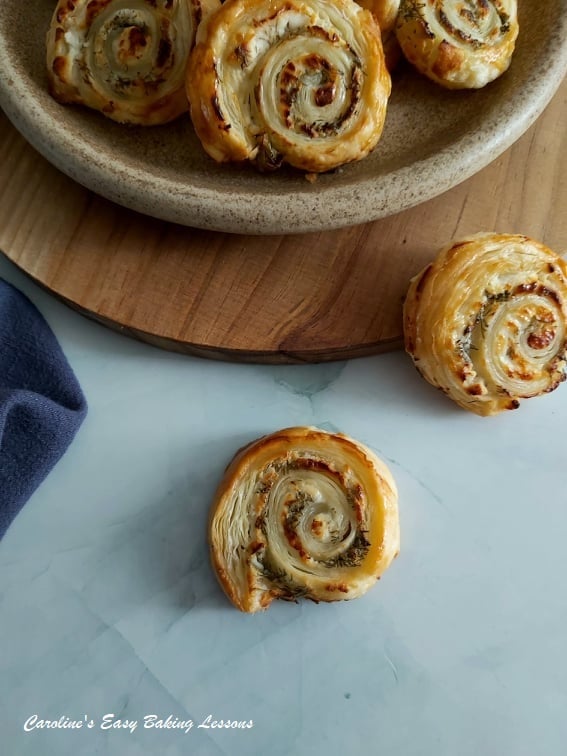




I made these and everyone loved them