Blueberry Orange Patterned Swiss Roll

Blueberry orange patterned Swiss roll is my new jelly roll recipe, with not only homemade blueberry curd, but an impressive but simple, pattern to the cake roll too! Conquer your fear and learn how to successfully make a Swiss roll and start off with this basic pattern for a great looking & tasting cake!
Blueberry Orange Patterned Swiss Roll
A Beginners’ Tutorial


*** Select to jump to section***


What Is A Swiss Roll?
A Swiss roll is a cake with no butter or oil, similar to a Genoise cake, with no baking powder and leavened by the whisking of eggs and sugar to the ‘ribbon stage’.
This thin cake is also known as a Jelly Roll Cake in America, since Swiss rolls are rolled up, often filled with jam/preserve/jelly.
To confuse matters however, a Swiss roll cake can also be referred to as a Roulade. And Roulades can be sweet or savoury filled, or even rolled meat or pastry! My sweet lesson today however, is for a blueberry orange curd filled Swiss roll.


Conquer Fear Of Swiss Rolls
This blueberry orange Swiss roll, like all Swiss Roll cakes is really easy to make, but many are apprehensive to try making one for a few reasons:
Fear of rolling up the cake and it possibly cracking. Because of this, they don’t roll tight enough. This in can lead to filling oozing out, and not achieving the much coveted, clearly defined ‘swirl’.
Tips For Successful Swiss Rolls
• Whisk eggs & sugar longer to 'ribbon stage'
• Roll up straight from the oven, with no filling
• Always use paper, tea-towel & powdered sugar to avoid sticking
• Begin with a very tight bend of the cake
• Leave to cool rolled up for 'Cake Memory' & reduce cracking
• Always chill filled cake for filling to settle & easier slicing
• Always, trim off the ends of the roll to reveal the 'swirl'
• Be brave, don't hesitate!
More Swiss Roll Recipes


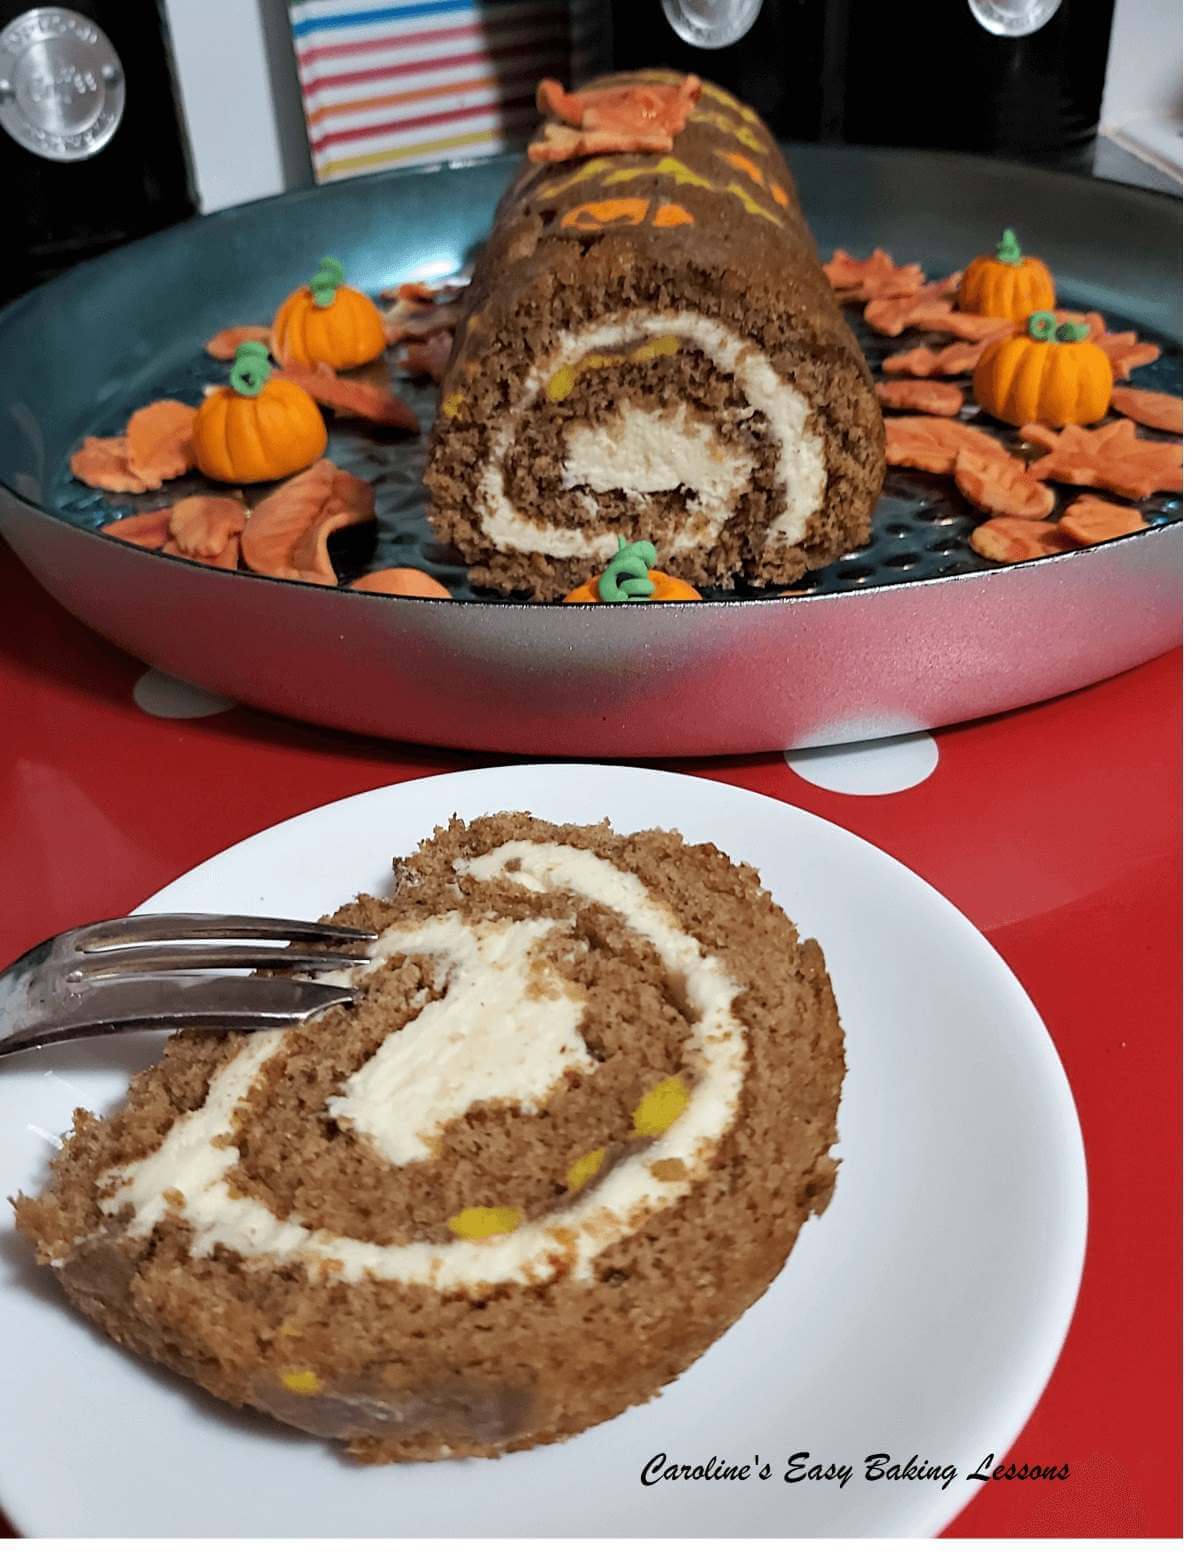
Want to make a different Swiss roll cake, or need a gluten free version? Here are some recipes – my Flour Free/Gluten Free Chocolate Swiss Roll, similar Flour Free Chocolate Orange Yule Log for Christmas, a review of a Patterned Pumpkin Swiss Roll recipe and Lemon Curd Swiss Roll Guide. Most with video tutorials too to help you succeed with Swiss roll cakes.
Jump to RecipeThe Ingredients You Need
*Note ingredient amounts are all listed in the printable Recipe Card further down the page.
Pattern Ingredients
For the pattern batter, you need a small amount of the following:


Butter – softened, unsalted butter cut into a smaller sized cubes.
Caster Sugar – is used for this and the Swiss roll cake, and equivalent to Super/Extra Fine Sugar. (For more on US & UK baking ingredients, see my Differences Between UK & US Baking Ingredients article.)
Plain Flour – a small amount of plain (All Purpose) flour is used.
Cornflour – a little cornflour (corn starch) is also used to lower the protein content of the flour. But if you are able to source cake flour, you can omit the cornflour and increase the cake flour by 13g (0.5 oz, 4.25 tsp).
Egg White – 1 egg white is used for the pattern batter, and the remaining egg yolk added to the cake batter. Note UK medium or large eggs are used, equivalent being large to extra large in the US.


Purple Food Colouring – a purple shade is good for this blueberry orange Swiss roll cake, as it is similar to the purple tones of blueberries and contrasts well with the pale cream colour of the cake. I used Sugarflair concentrated food colouring paste that is excellent. I used Grape Violet which I had from a set, as well as a little black just to help the pale batter to get to a purple shade quicker. You can also use a food colouring gel, but I don’t recommend liquid colouring that are much more diluted and add a lot of moisture. Be sure to have some cocktail sticks too for adding the colouring and testing the cake
Milk – (not photographed) – this is optional and only if you need to thin your batter a little.


Cake Batter Ingredients
The Swiss roll cake requires the following ingredients:
Caster Sugar – (Extra/Super Fine Sugar) is used in a lot of British baking, for easier beating with the eggs, but you can make your own Caster sugar from granulated, by lightly processing.
Eggs – 2 medium to large eggs are used and since there is a yolk left-over from the patter batter, this is added to the cake batter too. US equivalent egg sizing is large to extra large. **Make sure you always use room temperature eggs in your baking.
Orange Zest – zest from an orange or even from a tangerine adds a little flavour as well as some nice little orange specks to the finished cake roll.
Orange Extract – this complements the blueberry curd filling, but you can substitute with Vanilla Extract – learn how to make Homemade Vanilla Extract and save money in the long run.


Blueberry Orange Curd – I made my own Blueberry Orange curd for the filling. Using same method as my Fig Anise Curd recipe (and I will add the amounts for that in the notes section of the Recipe Card below), but you can buy blueberry curd or jam as an alternative. And I added orange extract at the end to balance out the tart flavour of the blueberry curd.
Skip to abbreviated Recipe Card or Video, or continue reading for detailed process instructions & photos.
Jump to Recipe Jump to VideoStep-by-Step Instructions
*Note, ingredient amounts & equipment, listed in Recipe card below*


Prepare Pattern Template
1. The first step is to make the design on baking/parchment paper. If good at piping and evenly, you can skip making a template, but is helpful. See the link below for a download of 1″ (2.54cm) squares. I used this as a template behind paper (cut to fit my baking tray/sheet), and then drew circles 1 inch apart, and every second row the circles were in-between, starting at ½” (1.25cm), making a nice diagonal pattern to the dots. (see Photo collage 1).
** Top Tip – wear gloves as certain pens work better and show better than pencil, but does get on your hands.


Preparing The Pattern Batter
1. Start by preparing the batter for the cake pattern, by letting the butter soften enough for breaking up with a fork. Cut this small amount of butter into quite small pieces, (about ¾cm or ⅓”), to make softening quicker and easier to work with. A mixer isn’t needed – just press down on the butter with a fork (or if you wear latex gloves you can squeeze it in your hands). See Photo collage 2. Then add in the Caster (extra/super fine) sugar and mix in again with the fork till well combined.
2. Next add in the flour & cornflour (no cornflour/corn starch needed if cake flour is used), and mix briefly before adding in the egg white. Beat with the fork till a smooth paste is produced. You can add tiny drops of milk to make it a thick but dropping consistency (see video and Photo collage 3 below).


Colouring Pattern Batter
1. Lastly add the food colouring of your choice. (I used Sugarflair food colouring. Violet Grape colour to be precise, a paste that is very concentrated). Add with a wooden cocktail stick, a little at a time, mixing in-between and waiting 30 seconds before adding more.
**Tip to go from white/cream colour to much darker (for anything in your baking really) – add some black food colouring and then back to adding the purple colouring. This saves wasting more of the purple and is a great way to get a red colour too, by adding pink say then your red colouring. I added 2 small amounts of violet, then black, and then violet another 2 times to get the shade I wanted. (See Photo collage 3).


2. I added 2 small amounts of the violet colouring, then one of black, and then back to the violet for another 2 times, to get the shade I wanted. A little lighter shade than standard purple, but darker than a lavender shade. Note that the cake bakes off at a slightly darker shade. But against the pale sponge, even a lavender pattern would still work. (See Photo collage 4).
3. Make sure all the colouring is mixed at the bottom (using a glass bowl is good for this). And work on some kitchen paper/paper towels and use those latex gloves for this too!
4. Once happy with your shade, you might need to thin the batter again ever so slightly, with a touch more milk. If you didn’t use a paste or gel colouring, (but a liquid), if your batter is now too runny to pipe a pattern, sieve over a tsp of flour and beat in till the right consistency.


Piping The Pattern
1. Once the pattern batter is ready, fill a piping bag, piping syringe, squeezy bottle, or even a clean food baggie with the batter. I used a No.2 nozzle with a small (but not extra small) round hole. See Photo 5.
2. Begin by having a practice and piping a few dots of the batter on some kitchen paper/paper towel until you have control of the batter (see Photo 5 where my first 3 dots are at the top & next ones below).
3. Next grease the baking tin/sheet with Cooking/Baking Spray for greasing, Frylight spray, Cake Release Spray, homemade Lining Paste, or even softened butter. I used the Frylight spray here. Be sure to grease the sides too.
4. Place your paper circle design on top of the prepared tray, remembering to turn the paper over, so that the side you have drawn on, is face down.


5. Simply pipe the small batter dots on top of your template pattern, with a light squeeze, onto the paper mark and then release and lift swiftly.
6. **Tip – for the piping syringe, I only pressed the plunger every 2nd dot. The batter will either sit as a tiny peak, or bent over and become slightly wider. It is quite a forgiving batter however, and you can use a cocktail stick to scrape it back if needed. Or wipe off and pipe again.
7. Piping a row at a time across the way I found easiest as you can get into a rhythm and be much quicker that way. See Photo 6.
8. Once all piped the batter must be frozen for it to stay in place when baking the cake. So make sure you have a wide enough freezer space for this. (You could chill it instead, but I haven’t tried that, and would imagine 60 – 90 minutes in the fridge would do.) Pop in the fridge first for 10 minutes, before wrapping a large sheet of baking/parchment paper on top of the baking tray/sheet, letting it cover the sides and underneath too, so that it does not touch the batter. Then pop in the freezer for 20-30 minutes.


Prepare Cake Batter
1. While the pattern is freezing, heat the oven to: 200°c/180°c Fan Oven/400°f/Gas Mark 6 and prepare the cake batter to coincide with ending the freezing of the pattern.
2. Next add the 3 whole eggs & left-over egg yolk, and sugar to a medium-sized mixing bowl. (**Make sure it is always room temperature eggs). Beat at medium to high speed till creamy, thick, a paler colour, and noticeably bigger in volume. (See 3rd picture in Photo collage 7).
3. Do a ‘Ribbon Test’ to be sure whisked enough. Drop some batter on top of the surface of the batter in the bowl, and if it does not sink and disappear immediately, you have beaten enough. The drops of batter will leave a ‘trail’, or ‘ribbon’ pattern briefly. (See picture 4 in Photo 7). Read my How To Do The Ribbon Test article for more, or watch my Ribbon Test video.


4. Add the orange extract and orange zest, before sieving over the flour, split into 3 batches.
5. Gently folding-in the flour with either a rubber, silicone or plastic spatula to not knock out the air you just took the time to incorporate.
6. Swiss Roll/Jell Rolls & Genoise cakes, don’t have any leavening like baking powder so it is important to keep the air in the batter. Either do a scrape & fold motion, scraping around the sides of the bowl and into the centre, in a circular-type motion and back out again to the sides of the bowl. Folding as if you were writing a number ‘8’ – spatula being the pen and the batter the paper. (See my video or photo collage 8, where I have labelled the imaginary figure ‘8’. Being left-handed, I scrape from left to right, twisting the spatula to turn inwards to the centre or middle of the ‘8’, and then circular movement again for the lower half of the ‘8’. Much easier to understand in the video, where I did in slower motion)


7. Repeat & add next 2 increments of flour, until no more is visible, making sure no flour is at the bottom of the bowl.
8. As soon as the cake batter is ready, grab the frozen pattern from the freezer (be careful not to drop it like I did, upside down but lucky it was frozen). Then spoon on the prepared cake batter.
9. It will be very thick by nature and I try and divide it up by spooning and tilting the tin several times. (See Photo 9). You don’t want to be spreading it other than the odd touch here and there. But if your eggs were too small or the flour absorbed more liquid than normal, you can add a small amount of milk to the batter, before adding to the tin.
10. Once filled, gently tap on the counter/worktop before placing in the centre of the oven for 7-10 minutes. A cocktail stick will come out clean of crumbs & edges will be barely starting to turn golden on the edges, (you can turn during baking if need be, but not until after 5 minutes.


Preparing For Turning Out
1. While the cake is baking, prepare for turning out the cake, immediately on removing from the oven. Unlike plain Swiss roll (Jelly Roll) cakes, we have a pattern on one side of the cake, we will have to turn the cake over twice.
2. Have either a flat baking/cookie sheet at least the size of the cake, or use the back side of a lipped tray ready and a sheet of baking/parchment paper on top.
3. Remove from the oven & use the cocktail stick to run around the sides of the cake, to make releasing easier.


4. Dust icing/powdered sugar on top of the cake before placing the paper and cookie tray on top (make sure it is the flat side). Holding all together, turn over so the cake is now upside down. Release the cake & remove the paper carefully, then lightly sieve over sugar on top of the pattern side of the cake. Turn the paper over and place back on top of the cake, with the back side (flat side) of the cake tin on top of the cake. Holding all the trays together again, flip back over again.


5. Now the pattern side will be at the bottom & you should be able to slide the cake & paper over and onto a clean tea-towel. See Photo 12. (Alternatively you can have a fresh piece of paper on top of the tea-towel too, just make sure there is dusted sugar and paper between the cake and the tea-towel.
6. Immediately start to roll up the cake, with the paper & tea-towel inside. Starting with a tight bend at the beginning, and rolling confidently, squeezing and neatening the ends as you roll along.
7. Once all rolled, twist the ends and tie with some pegs, ties or clips to hold closed.
8. Place in the fridge to cool down for 30 minutes, with the seam-side (where the cake roll ends), on the underside.
**Top Tip – to get a nicer round shape and avoid a flat edge where the cake is sitting, place the tea-towel wrapped cake into a Whisky bottle box, or postal cylinder box, wide enough to get the wrapped cake into.


Filling The Cake & Final Roll
1. Gently unwrap and open out the cooled cake and spread on the homemade blueberry curd, leaving a little gap around the ends. You will notice that when you fully unroll the cake, the beginning where you started the roll, will be bent over. This is the cake’s ‘muscle memory’. The cake ‘remembers’ the way it was rolled and this is why we always roll first unfilled and straight from the oven while still hot. It really does help get that great swirl shape.
2. Like before, once filled, roll up tightly again and neatening the ends as you go. (Be sure to roll just the cake this time).
3. Once all rolled up, wrap with the paper and tea-towel, close the ends like before and place in the cardboard tube if using one.


Place in the fridge with the seam side down if not in a tube, and leave to set for at least 1 hour. You can alternatively place in the freezer for at least 30 minutes. The longer you chill or freeze the cake, the easier it is to cut neat slices.
Slicing & Serving
1. Once the cake has had time to firm up and the filling settle in, you can slice and serve. I like to serve my Swiss roll cakes on a rectangular platter.
2. For any Swiss roll cake you MUST trim off the ends. I see this mistake made by so many. And the reason you need to trim a little from both ends, is to reveal that swirl you want! If you spread the filling right to edges it will ooze out more, especially when slicing, and the ends are not as neat or appetising either (but absolutely still edible and are what I call Bakers’ Bonus – you must eat them for taste testing!).


3. Different people will advise on different types of knife to use, but use whichever sharp knife you have, that works best for you. Serrated is meant to help with cutting patterned cake, but I felt it messed with the inner structure of the cake too much.
4. Trim about 1cm, nearly 0.5″ off the ends, but just to the point past one of the dots – trying to avoid the dot. This will be the hardest slice to make and a little tougher than further in, again because it is the ends of the cake.


5. Once cut through, remove to the side for later, then give the cake a nice squeeze back into its round shape – the cutting down will inevitably squash the shape a bit.
6. Repeat for the opposite end of the cake. For me I had a tiny crack in the cake at the edge on one end. You will see this in my video, and it made the most inner part of that end’s swirl more straight than rounded. However, once you trim off the ends, that break was not visible and the cake retained its swirl shape. Photo 15’s comparison shows how much of a difference trimming the edges makes.


7. You can pop the cake back in the fridge or freezer for a short time, if you feel you need to now, or if serving later.
8. Serve slices of cake about 2.5cm/1″ thick, but basically in-between the pattern. Doing that makes it a little easier to cut as the patterned cake is tougher by nature than the cake roll itself. (See Photo 16).
9. Squeeze the slices back into shape again and serve with some more blueberries and orange slices for garnish. Since we didn’t put whipped cream in the cake, why not serve on the side? Would make a great blueberry & orange Charlotte Royal.
10. Makes about 10 slices if cut like this.


Storing The Cake
1. Since this cake is very light, it won’t be around that long to say for sure how long it would last. However, I did slice the entire cake on the day after, and placed on small serving places with some garnish, and covered with cling film/plastic wrap and placed in the fridge. The single slice that was still left on the 3rd day, was perfectly fine.
2. Alternatively, you can store under a cake dome for up to 3 days, or in a cake tin for a bit longer.
I have not tried freezing the cake (because there was none left), but I imagine it would be fine as the blueberry curd is very thick and not made the same way as my lemon curd which might split on freezing. The texture of the cake however might change slightly on freezing. And freezing time seems to be up to 1 month, individually well wrapped , double wrapped even.
DIFFICULTY LEVEL: Simple – with guidance
Recipe Card
Blueberry Orange Patterned Swiss Roll Tutorial

Equipment
- Scales or measuring cups
- Pen, pencil, ruler (for making pattern)
- Small mixing bowl for pattern batter
- Piping Bag (or piping syringe/squeezy bottle)
- Round Piping Nozzle (no 2 or No 3, optional)
- Medium sized mixing bowl (or stand mixer bowl)
- Hand-held or stand mixer
- Sieve
- Rubber/silicone/plastic spatula for folding
- Cooking/Baking Spray for greasing (Frylight spray, Cake Release Spray, Lining Paste, or softened butter)
- Baking/parchment paper
- Baking tray/sheet or jelly/swiss roll tray/sheet (see notes for sizing)
- Timer
- Wooden Cocktail stick/tooth pick
- Icing/Powdered sugar (for rolling)
- Clean Tea-towel (wider and longer than the baking sheet/tray dimensions)
- Baking palette knife, off-set best (optional) (optional, or butter knife)
- Second baking tray/sheet (or shallow carrying tray, for turning over the cake, same size/bigger than one for the cake)
Ingredients
For The Pattern Batter:
- 30 grams Butter (2 tbsp, 1 oz, in very small cubes & softened)
- 30 grams Caster Sugar (2 heaped tbsp, 1 oz, Extra/Super Fine Sugar*)
- 27 grams Plain Flour (1 oz, 3½ tbsp All Purpose Flour)
- 13 grams Cornflour (½ oz, 1½ tbsp Corn Starch. For Cake Flour instead of Plain/A.P., omit cornflour & increase Cake flour to 40g/ 1½ oz/5 tbsp)*
- 1 Egg White (UK Med-large egg, US large-extra large – room temperature)
- Purple Food Colouring (I used Sugarflair Violet Grape shade*)
- Milk (few drops, – optional to thin batter)
For The Cake Batter:
- 3 Eggs, medium (Or 2 Large eggs UK sized. US large to Extra large size, & at room temperature)
- 1 Egg Yolk (white used in pattern batter)
- 100 grams Caster Sugar (3½ oz, ⅓ cup plus 2 tbsp, Extra/Super Fine sugar*)
- Orange Zest (From 1 orange or even tangerine/satsuma zest – optional)
- 2½ tsp Orange Extract
- 100 grams Plain Flour (3½ oz, ¾ cup plus 1 tbsp All Purpose Flour)
- Milk (few drops – optional to thin batter)
For The Filling & Decoration:
- 12 tbsp Blueberry Orange Curd (8-10oz, 225-300 grams, approximately, homemade blueberry orange curd, or use shop bought)
- Blueberries, Orange/tangerine slices (optional for garnish & to serve)
Instructions
Prepare Pattern Template
- Use my template or free-hand draw round dots with a pen that does not wipe off from your baking/parchment paper. My dots were every 1" (2.54cm), and every second row I started half-way in, to make the pattern seen in the cake. (To get these accurate I had a square template under the paper -download a template in the notes section). See detailed recipe process photos before this Recipe Card.
Preparing The Pattern Batter
- Prepare the pattern batter, by softening the small cubes of butter with a fork and mixing with the caster (super/extra fine) sugar till combined and paste like. Add in the flour gradually (and cornflour/starch is using), mixing briefly before adding the egg white. Beat with a fork until a smooth paste is formed. Add some drops of milk if needed to make a thick but dropping consistency (see video and photos).
- Add the food colouring, (I used Sugarflair Violet Grape, a paste that is very concentrated. With a wooden cocktail stick, a little at a time, mixing in-between and waiting 30 seconds before adding more.) **Tip to go from white/cream colour to much darker – add some black colouring and then back with the purple colouring. Ensure all colouring is mixed at the bottom of the bowl too.
Piping Pattern
- Add the prepared purple batter to a piping bag/piping syringe/squeezy bottle, or clean food baggie. I used No.2 nozzle with a small (but not extra small) round hole. Have a practice of piping the batter on some paper, thinning the batter if needed.
- Grease and line the baking tray/sheet, remembering to place your pattern paper with the ink side down & not upwards. Pipe the small dots on top of the paper, one row at a time until all piped, before popping in the fridge for 10 minutes. After this, wrap a large sheet of baking/parchment paper over and under the baking sheet/tray to protect it without touching the batter, and place in the freezer for 20 – 30 minutes.
Prepare Cake Batter
- Meanwhile add the 3 whole eggs (2 if UK large sized), as well as the left-over egg yolk, and the sugar to a medium-sized mixing bowl. (**always room temperature eggs). Beat on medium to high speed till creamy, thick, a paler colour, and noticeably big in volume. Do a 'Ribbon Test'/'Trail Test' to be sure whisked enough (see detailed process section before this Recipe Card, the video below or watch my Ribbon Test video).
- Heat the oven to: 200°c/180°c Fan Oven/400°f/Gas Mark 6, and now add the Vanilla Extract, before sieving over the flour. Gently fold-in the flour with a plastic, rubber or silicone spatula to stop knocking out the air incorporated.
Bake The Cake
- Remove the frozen pattern from the freezer when ready, & spoon the cake batter careful on top of the purple pattern. The batter will be thick (and you can see this in photos & the video), but if you need to you can gently fold in a little milk to thin down slightly. Bake the Swiss roll cake in the centre of the oven for 7 – 10 minutes. The cake will be just starting to turn a golden shade at the edges, coming away from the sides of the tin, & a cocktail stick will come out clean of crumbs.
First Roll Of The Cake
- While the cake is baking, prepare for turning out the cake as soon as out of the oven. This patterned cake will require an extra turn over for the pattern side to be down while rolling the cake. Dustings of icing/powdered sugar, a clean tea-towel, 2 sheets of baking/parchment paper cut to about same size as the tea-towel and a second baking/sheet same size or bigger than the one the cake is baking in will be needed.
- Immediately on taking the cake out, run the cocktail stick around the sides of the cake tin, to help releasing the cake. Dust icing/powdered sugar on top of the cake, place baking/parchment paper on top, then the tea-towel and the 2nd cookie sheet/tray turned upside down. Hold everything together, and flip over, before releasing the top layers. The cake will now be released and pattern side up. Carefully peel back the paper from the baked cake, before dusting some more icing/powdered sugar on top. Put the removed paper back on top of the cake with the tea-towel, and the baking sheet/tray now turned upside down. Hold everything together again and flip back over for the pattern of the cake to now be facing downwards. With the trays/sheets being inverted, you should now be able to remove the top layers, and slide the bottom tray out, leaving just the cake on top of paper and the tea-towel. (See photo collage 12 before this Recipe Card).
- With the short side of the cake near to you, beginning with a tight roll, roll up the cake, paper and tea-towel all together. Tightening & neatening the ends as you go. (See process photos or video for more on this). Twist the ends of the tea-towel and tie to hold together. Place on a large flat plate seam side down, or in a cardboard whisky tube/postal cylinder to hold a round shape, and place in the fridge for 30 minutes.
Filling The Cake
- After its cool down, carefully unroll the cake & spread the blueberry orange curd on top, (leaving a little gap at the edges. Roll back up, (just the cake this time), cover with the paper & tea-towel and close the ends like before. Chilling for at least 1 hour or freezer for 30 minutes.
Serving & Storing
- When ready to serve, remove the cake and trim off a small amount of cake at both ends to reveal the swirl shape. (About 1cm, nearly 0.5″- don't forget this part). Transfer to a long platter and cut into slices every 2nd row of dots (in-between the dots), to about a thickness of about 2.5cm/1″. Gently squeeze the cake back into a round shape after cutting.


- Serve as it is, or with some blueberries and slices of orange as garnish, with a nice cup of tea or coffee. Make a bit more special & add some whipped cream to the side!
- Store in an airtight container, or under a cake dome for about 3 days. Can also be stored sliced in the fridge, under cling film/plastic wrap.

Video
Notes
Eggs – 3 UK medium sized eggs are used, but 2 large eggs can also be used. US equivalents are Large to Extra Large. If you want to weigh the eggs, weight averages 58g/2 oz for medium and 68g/2⅓ oz for large eggs – sizes 1 – 5*. Always use room temperature eggs in baking. Vanilla Extract – can be used in place of the orange extract. Learn how to make Homemade Vanilla Extract and save money in the long run.

 Cornflour – a little cornflour (corn starch) is used in the pattern batter. If you can get cake flour with a lower protein percentage, omit the cornflour & increase the cake flour by 13g (0.5 oz, 4.25 tsp).
Purple Food Colouring – I used & recommend Sugarflair concentrated food colouring paste . I used Grape Violet & a little black to help the pale batter become a purple shade quicker. Food colouring gel can be used but I don’t recommend liquid colouring. Wear gloves when using the colouring.
Tin Size – Swiss roll tins are 33 x 23cm (13 x 9″), & I use a cookie tray/sheet that is 35 x 23 x 1.5 cm (13¾ x 9 x ⅔ inch) or the one in the photos which is a 38 x 25 x 1.5cm (15 x 9¾ x 1″). I would not recommend going any bigger or smaller than these 3 sizes listed.
Cornflour – a little cornflour (corn starch) is used in the pattern batter. If you can get cake flour with a lower protein percentage, omit the cornflour & increase the cake flour by 13g (0.5 oz, 4.25 tsp).
Purple Food Colouring – I used & recommend Sugarflair concentrated food colouring paste . I used Grape Violet & a little black to help the pale batter become a purple shade quicker. Food colouring gel can be used but I don’t recommend liquid colouring. Wear gloves when using the colouring.
Tin Size – Swiss roll tins are 33 x 23cm (13 x 9″), & I use a cookie tray/sheet that is 35 x 23 x 1.5 cm (13¾ x 9 x ⅔ inch) or the one in the photos which is a 38 x 25 x 1.5cm (15 x 9¾ x 1″). I would not recommend going any bigger or smaller than these 3 sizes listed.

 Greasing – Frylight cooking spray is often used, but Homemade Lining Paste/Cake Goop, can also be good. Cake release spray or softened butter are alternatives.
Read more on the Ribbon Test/Stage, Trail Test in the detailed process before this Recipe Card, or read my Ribbon Test In Baking lesson.
Greasing – Frylight cooking spray is often used, but Homemade Lining Paste/Cake Goop, can also be good. Cake release spray or softened butter are alternatives.
Read more on the Ribbon Test/Stage, Trail Test in the detailed process before this Recipe Card, or read my Ribbon Test In Baking lesson.

 Blueberry Orange Curd – here is the new blueberry orange curd recipe. To fill this Swiss roll, I used about 1 jar, from 2 made from the following:
250g/8¾oz Blueberries,
5 Red Plums (90g/3oz pitted),
2 tbsp Water, 1 Lemon (cut into quarters),
350g/12⅓oz/1¾ cup Dark Brown Sugar (or combination of white & brown),
3 Medium Eggs (combined weight 168g/6oz, US large eggs),
141g/5oz/⅔ cup Unsalted Butter &
2 tsp Orange Extract, (or more to taste).
Recipe instructions & video – Blueberry Orange Curd
Blueberry Orange Curd – here is the new blueberry orange curd recipe. To fill this Swiss roll, I used about 1 jar, from 2 made from the following:
250g/8¾oz Blueberries,
5 Red Plums (90g/3oz pitted),
2 tbsp Water, 1 Lemon (cut into quarters),
350g/12⅓oz/1¾ cup Dark Brown Sugar (or combination of white & brown),
3 Medium Eggs (combined weight 168g/6oz, US large eggs),
141g/5oz/⅔ cup Unsalted Butter &
2 tsp Orange Extract, (or more to taste).
Recipe instructions & video – Blueberry Orange Curd

 More tips for confidence with Swiss roll cakes, see beginning of the recipe blog.
Check out my Flour Free, Gluten Free Chocolate Swiss Roll recipe, Chocolate Orange Yule Log, the Vertical Chocolate Swiss Roll, or Ultimate Lemon Curd Swiss Roll Guide.
More tips for confidence with Swiss roll cakes, see beginning of the recipe blog.
Check out my Flour Free, Gluten Free Chocolate Swiss Roll recipe, Chocolate Orange Yule Log, the Vertical Chocolate Swiss Roll, or Ultimate Lemon Curd Swiss Roll Guide.Try my Easy Lemon Curd recipe, or Plum Orange Jam as an alternative filling.

 Template – 1″ squares template can be used under your parchment paper, to see where to draw your dots for the pattern. Click the file below twice to open the pdf for saving.
1-inch-squares-template
*Egg size data from EggInfo.co.uk @ Egg Facts & Figures
Template – 1″ squares template can be used under your parchment paper, to see where to draw your dots for the pattern. Click the file below twice to open the pdf for saving.
1-inch-squares-template
*Egg size data from EggInfo.co.uk @ Egg Facts & Figures
**I am not a qualified nutritionist, and all nutritional values approximate & based on a serving of 1 x 1 “/2.5cm thick slice of cake, based on cutting 10 portions. Note it does not take into account the ends trimmed off – therefore nutritional values will be slightly less. Includes serving with blueberries and orange slices. Bigger or smaller slices & the nutritional values will change. All values from Whisk.com.
Subscribe For More Recipes
Want more great recipes, tips, baking information and newsletters? Then please consider subscribing by adding your email address below. Be sure to check for a confirmation email & respond back, so you can follow me & receive your free emails. Your personal information will not be shared with a third party.
Join My Facebook Group
Why not also join my – Facebook group Easy Online Baking Lessons, dedicated to this baking lessons website, as well as providing one-on-one support with myself & my team? Be sure to answer all security questions when requesting to join.
Follow me on social media:
Happy Learning & Baking!
Caro x


Blueberry Orange Patterned Swiss Roll
Search For Something You Fancy!
Caroline’s Easy Baking Lessons


Although this looks difficult with great step-by-step instructions it really is an easy recipe. It looks really impressive. Thank you for sharing.