Last-minute Fruit Crumble – (Dessert In A Hurry)

Last-minute Fruit Crumble
Dessert In A Hurry
No Need To Be A Baker Or Have Special Ingredients
By Caro

When Guests Are Coming
Ever been in the situation where you have to whip up a dessert at the last minute?
Guests are coming and you need to feed them?
Don’t have much time, experience of baking, or any fancy ingredients?
Then look no further. This is a great quick recipe, that is easily adjusted to whatever you happen to have in the cupboard, fridge or even freezer. You don’t even need flour or any baking equipment. This last minute fruit crumble, is also a bit healthier in that there’s no butter involved like most fruit crumbles.
Jump to Recipe
A Note On Crumble Ingredients
For your speedy impromptu fruit crumble, you can use any fruit you have and in any form. By that I mean, it can be fresh, tinned/canned or even frozen. All work well, which makes this the perfect last minute dessert.
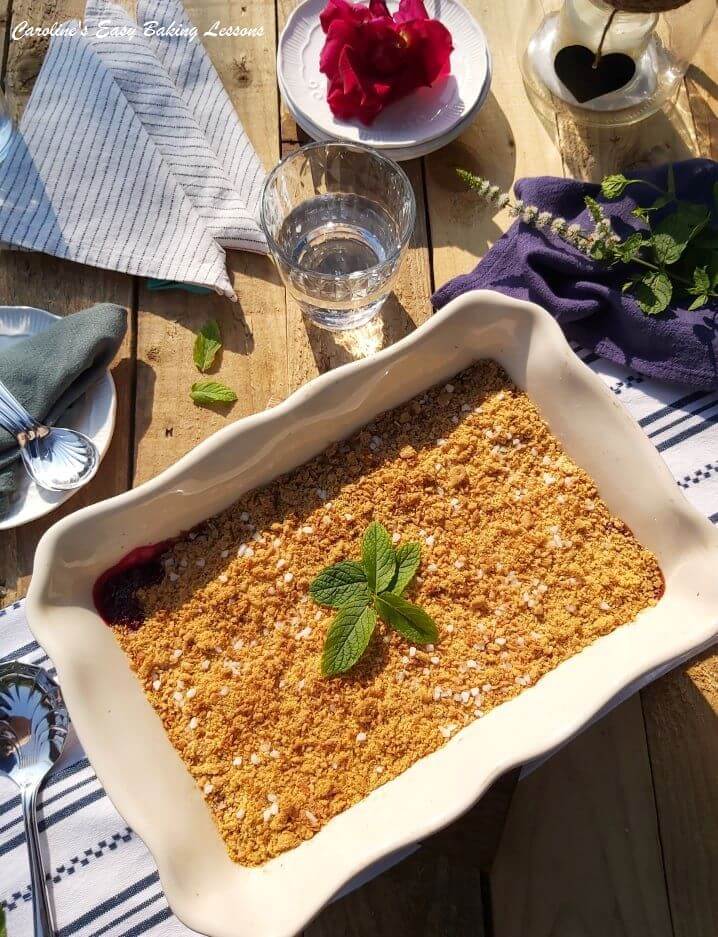
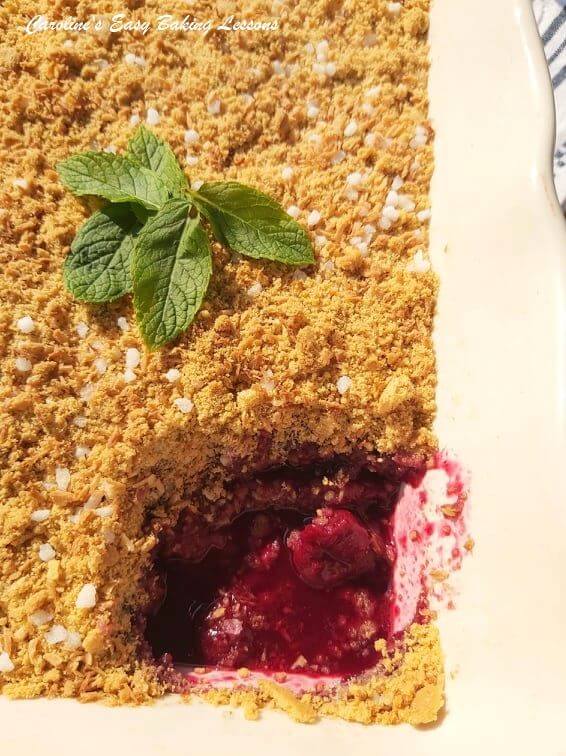
In these photos I used a tin/can of peach slices and some frozen cherries that were left over. I will give you the quantities I used, but you can increase them if you happen to have more, or if you have less, just use a slightly smaller dish.
Fruit juice is also used in my fruit crumbles, but since there was syrup left-over from the tin of peach slices, I used that instead. You can use any pure fruit juice, like orange or apple.

Equipment For Last-minute Crumble
No fancy baking equipment, baking tools or obscure shaped dishes that you would never use again.
You need a stove-top to part cook the fruit and thicken the sauce, a rolling pin (or even a big bottle, or something similar for crushing), some scales or measuring cups, an oven and a timer (even use the one on your phone if need be). You can even go by the pack weights if you don’t have scales or measuring cups.
For baking the fruit crumble, I used a rectangular oven casserole dish (24 x 15cm – 9½” x 6″). It’s actually a Pioneer Woman one, that my friend Tammy from the states send over to me in Scotland. I actually have quite a few of her pieces, that were kindly sent to me by my followers. As well as being a very pretty dish, the crumble doesn’t stick and you can get 8 nice sized servings out of it.

Making The Speedy Fruit Crumble
The process to make my peach & cherry fruit crumble, is also very straight forward. You are adding sugar to the fruit of your choice and some fruit juice. (I added the juice from the can/tin of peaches but you can also use orange juice or any other fruit juice you might have in the fridge).
This is all mixed on the stove top, brought to a boil and left to simmer a little to thicken the fruit syrup. The combination of the peaches and cherries, made a beautiful colour that just translated as juiciness, (well to me anyway).

While the fruit is simmering, you have the oven heating and prepare the crumble topping. It’s simply just biscuit/cookie crumbs. I used digestive biscuits on this occasion that I happened to have (I don’t often have shop bought biscuits/cookies in the house and often make my own version – go to my Coconut Chocolate Digestive Biscuits recipe). These were invented by a Dr and for digestive purposes, hence the name. They are low on sugar and butter and made from oats. (I am often asked by Americans why they are called Digestives :))
I simply placed them in a food baggie and bashed them with a rolling pin! This was quite good actually – and if you don’t have a rolling pin, a bottle or any weapon of your choice will do 🙂
You can add to this topping anything else you might have, but it’s optional. I added some coconut (desiccated/unsweetened shredded) and a few sugar nibs.
**Here’s also a video on how to make your own Digestive Biscuits/Cookies.

The fruit crumble is then assembled by simply filling the oven dish with the fruit and topping with the biscuit/cookie crumbs. Pop it in the oven for about 10 – 20 minutes until the topping is golden and if you used coconut, you will be able to smell that now too.
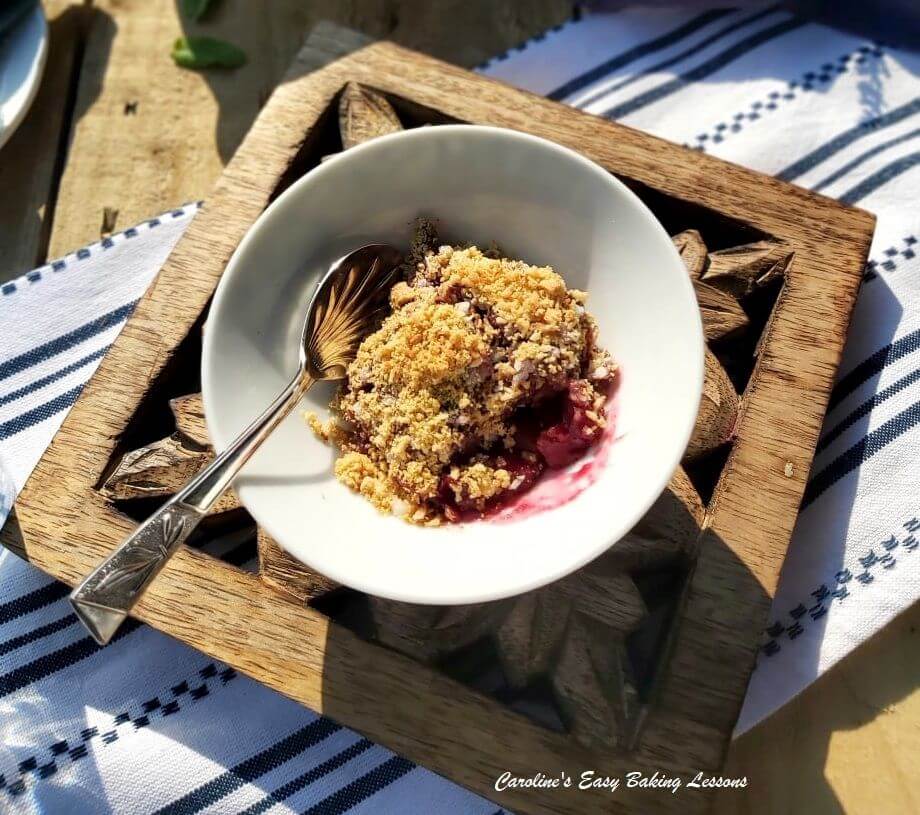
Serve your last minute fruit crumble warm, or cold, and pair with some cream, ice-cream or even custard. Here’s a video of Creme Pat (Pastry cream), that is similar but thicker than custard. You could make some for another project or simply don’t let the mixture thicken as much, and serve with fruit crumble. (You could prepare this quite quickly, before you make the crumble, and chill while making the fruit crumble).

More Reason To Make This Crumble Dessert
This easy fruit crumble dessert, is also perfect if you are craving something sweet. Needing something sweet but either don’t have much time, experience or ingredients in the cupboard.
It’s also vegan, dairy free, and gluten free if you use gluten free biscuits/cookies. A very customisable dessert, that can be for any season of the year. I hope you enjoy it. Here’s the recipe card below, that you can save, share or print.
RECIPE CARD
LAST-MINUTE NO FUSS FRUIT CRUMBLE

Equipment
- Scales, Measuring Cups (or go by pack sizes)
- Chopping Board (optional)
- Knife (optional)
- Medium cooking pot
- Wooden spoon
- Measuring spoon (optional)
- Rolling pin or large bottle
- Food baggie
- Oven/Casserole Dish (24 x 15cm – 9½" x 6") – see notes
- Timer or Phone Timer
Ingredients
- 100 grams Sugar, granulated (½ cup, 3.5 oz)
- 240 grams Peach slices, fresh, canned/tinned or frozen (1 ½ cups, 8.5 oz) **Note the tin/cans will be about 440g/15.5 oz with the syrup
- 425 grams Cherries, fresh, canned/tinned or frozen without pit (3 cups, 15 oz) **See notes on frozen fruit
- 180 ml Fruit Juice or syrup from the can/tin (¾ cup, 6 fl oz) ** Note that if using frozen fruit, you will need about 80ml/2.75 fl oz or 1/3 cup)
- 1 -2 tsp Flavoured Extracts (optional) (I used splash of Vanilla extract, ½ tsp Orange extract & 1 tsp Foodie Flavours Pineapple extract, but all optional)
- 300 grams Biscuits/Cookie Crumbs (3 – 3½ cups, 10.5 oz, Digestive Biscuits, Graham Crackers etc)
- 2 tbsp Desiccated Coconut, Sugar nibs, optional (Sprinkle handfuls if you like)
Instructions
PREPARE THE FRUIT FILLING
- Start by preparing the fruit. If fresh, peel and slice/cube any size you like. If frozen you can leave to thaw and drain the liquid or just use frozen. Similarly, if using canned/tinned fruit, drain the juice/syrup and reserve.
- Add the fruit, sugar and reserved juice/syrup (if you don't have any, you can use any fruit juice, orange juice being a good option) to a pot. **Note that you will need less liquid if using frozen fruit so see the notes on that.
- Mix together and place on a medium heat, letting the sugar dissolve and allow to come to a rolling boil.
- Pre-heat the oven to 170°c Fan/190°c/ 375°f/Gas Mark 5 .
- Let boil for 5 – 10 minutes and then reduce to low heat and let thicken for about 10 minutes. If not thickening, or too much liquid, use some cornflour/starch (add a small spoons of the liquid to 2 tsp cornflour/starch and mix to make a paste, then add to the fruit mixture and mix to combine and let come to a rolling boil again).
- Leave to cool off the heat and thicken, while the oven heats & you prepare the topping.
PREPARE THE FRUIT CRUMBLE TOPPING
- Place plain biscuits/cookies in a food baggie, let the air out, close and then bash that bag with a rolling pin! Or a bottle or weapon of your choice 🙂 Crush to breadcrumb kind of consistency. Then add in some coconut and sugar nibs if using (optional).
ASSEMBLE THE FRUIT CRUMBLE
- Once the fruit filling has thickened enough (still a bit juicy is fine), add in some flavourings if you have some. Vanilla, Orange, lemon & pineapple extract all work well.
- Add the fruit filling to the oven/casserole dish. Let it sit for 5 minutes.
- Sprinkle on the crumble topping gradually. Cover all the fruit first with a thin layer (don't worry if some of it sinks into the fruit. If still too much liquid, place in the fridge for 15 minutes to help thicken). Then gradually sprinkle the rest on top evenly.
- Place in the centre of the oven and bake until the top is golden. (If colouring too quick, cover with some foil). Should only be about 10-20 minutes depending on your oven.
Serving & Storing
- Leave to cool just a little if you want to eat warm. Will last 2 -3 days in the fridge. Serve with custard, cream, ice-cream, whatever you have – try my pastry cream but make a little less thick, as a good substitute for custard..
- It can be covered with cling film/plastic wrap once cooled and placed in the fridge until ready to serve, but can also sat at room temperature for an hour or 2. Can also be warmed slightly before use. Will last 2 or 3 days if stored in the fridge and covered.
Notes
 CHERRIES – the weight is without the pit.
FROZEN FRUIT – you will add less fruit juice when cooking the fruit if using frozen fruit.
CUSTOMIZABLE – use any kind of fruit, fresh, frozen or tin/canned. Use any fruit juice or fruit syrup. Use any kind of biscuits/cookies for the crumble topping.
 OVEN DISH – I used a rectangular oven casserole dish (24 x 15cm/ 9½” x 6″) but any oven-save dish you have will be fine. Ceramic helps for the food not to stick.
FLAVOURINGS – I used a splash ofVanilla extract,½ tsp Orange extract & 1 tsp Foodie Flavours Pineapple extract, but all are optional and you cna use anything you have.
BISCUIT/COOKIE CRUMBLE – try my Coconut Chocolate Digestive Biscuits recipe, or go to my Biscuits & Cookies page for more recipes.
SERVING – fancy some homemade custard with the crumble? Try my Pastry Cream recipe and don’t let it thicken just as much.
 This recipe is vegan, dairy free, and gluten free if you use gluten free biscuits/cookies. A very customisable dessert, that can be for any season of the year.
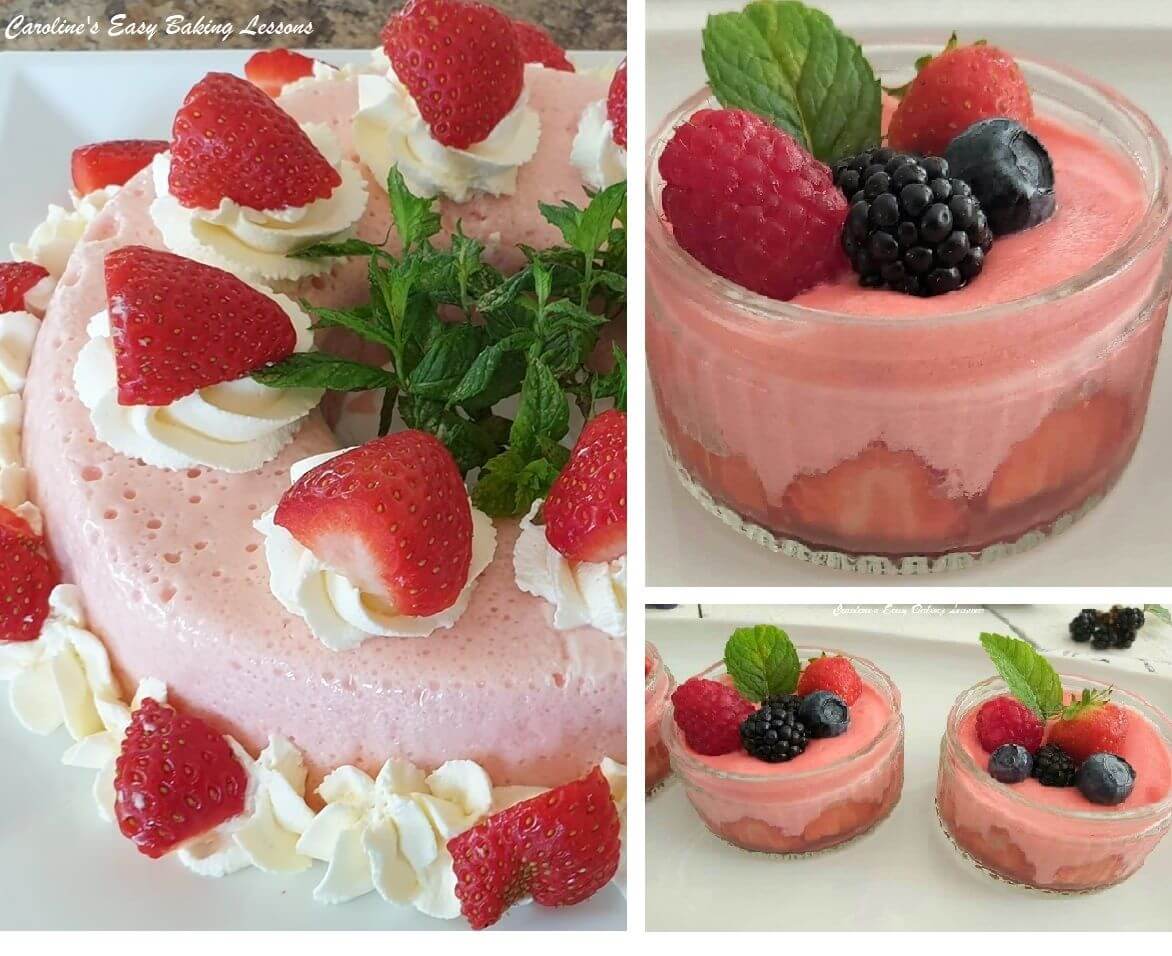
Also check out my Plum & Orange Jam recipe, or Fig Anise Curd. For another super simple quick dessert for the warmer months, try Cheats’ Strawberry Mousse (see below).
For more beginner bakes, check out my Lessons page for sweet and recipe tutorials.
Thanks for stopping by, Caro xxx

***I am not a qualified nutritionist, and all nutritional values are based on 1 serving of fruit crumble (assuming 8 servings yield), and using the same ingredients as listed in the recipe. Bigger or smaller serving size, or different fruit/cookies, & the nutritional values will change. All values from Whisk.com, and to 1 decimal place.

SIGN UP FOR MY NEWSLETTER – I would love it so much if you could sign up for my newsletter. I will send out monthly emails, showing the latest recipes and articles, and latest info. Being a free site, building a following, is even more important and will keep it up and running and for free to everyone. Occasionally there will be the odd seasonal emails, but is really a means of reaching you, if you are not already in one of the Facebook groups I admin. Please note too, that these email addresses are not shared or sold onto another party. Thanks so much Caro xxx

Share The Love
Please see the sharing options, at the right/bottom of your screen (bottom of your screen for mobiles, and down the right-hand side on computers). You can even pin this to your own Pinterest page. Alternatively, you can print the Recipe Card, see below. You could also leave some feedback if you like too (very bottom of the page).
DIFFICULTY LEVEL: super easy, beginner
Follow me on social media:
Thanks for reading
Happy Baking & Making
Happy Tummies & Memories!
Caro xx


Leave some feedback if you like 🙂


I’ve made fruit crumbles many times before but loved this recipe as it was so easy to make plus I could use my leftover biscuits with dessicated coconut for the topping. Had summer fruits in the freezer and served it with cornish ice-cream (hubby’s favourite). Great instructions thank you for sharing.
What a great idea for a quick recipe when expecting people over. I have never tried with a biscuit topping before and like the idea of a bit healthier too. Going to see what I have in the cupboards and use them up.