4 Steps To Cut Parchment For Round Tins

Quickly & accurately cut rounds of parchment paper to fit round cake pans or baking dishes. 4 simple quick steps for better lining of cake pans.
4 Steps To Cut Parchment For Round Tins


***Click to jump to section***


Why Do This?
- Accurate – more accurate than free-hand cutting or drawing a circle round the pan and then cutting.
- Uses Less Paper – only cut to width of dish.
- Less Tools Needed – No need to find something to draw with.
- Easier For Your Eyes & Hands.
- Super Quick – once you know how, can be done in seconds.
- Multi-uses – cake pans, cheese cake dishes, pie dish, pizza dishes etc.
- No excess paper moving about in oven/air fryer.
- Not Wasted – use trimmed excess for lining sides of tin (see below)


Compared To Drawing An Outline Round The Tin
This method is more accurate than drawing a circle round the pan and then cutting. No need to find something to draw with, and even then you have to cut perfectly round a fine line. Not so easy or quick if your eyes are not so good & easy to make a mistake.
Also, what others don’t consider, is that even if you manage to cut perfectly round the drawn circle, it will always be bigger than the inside of the pan. This is because of the thickness of the sides of the pan. And if it’s a particularly good quality pan, these sides will be thicker, meaning when going to place the cut out paper circle inside, it will be bigger & not fit nicely. I often see this done, and then they have to fold the paper up the sides and hope it sits right and doesn’t end up being baked into the cake!


The 4 Steps (In Brief)
1. Cut – cut enough baking/parchment paper for the width of your round dish you want to line.
2. Fold – folding of the paper until you have a thin ‘dart’ shape.
3. Measure – work out how much excess paper to cut off.
4. Trim – cut off the excess paper.


Lining Tips
You should always grease your cake pans, or any baking dish really. You can check out my Lining Baking Tins Lesson, for more details.
But my favourite 2 are using Home Made Lining Paste or FryLight cooking spray. The lining paste is excellent and always my choice for bundt pans.
FryLight cooking spray is particularly useful for silicone bake ware and in particular silicone mini bundt cases. You can buy it for less in the likes of Home Bargains & Lidl, rather than the bigger supermarkets.


See the mini bundt cases in the photo here. I used this cooking spray for these silicone cases. Here’s a recent recipe using this – go to Mini Carrot Bundt Cakes. An alternative would be cake release spray such as Pam.
But for layer cakes in particular, also paper lining the bottom of the pan, is also highly recommended. It saves you so much regrets when your cake won’t come out the tin, or most is left behind. So here’s how to best make the parchment paper fit your round cake pan.
Watch The Video
The Process Step-By-Step


1. Cut the baking/parchment paper to the same width of the round dish, (be it a cake tin/pan, a pie dish or pizza pan). See Photo 1.
**No need to make wider & waste paper.
**If using 2 cake tins, you might be able to cut in half & make 2 pieces, but here we are using 1 & using the excess paper for something else! Read on for more.
2. Next, fold in half, (upwards as shown in photo 2a below.) Make nice sharp creases, and this will make folding easier.


3. Rotate the paper 90 degrees to the right, so it opens up like a book, with the ‘spine’ on the left. (See Photo 2b).
**Note if you don’t rotate to do the second fold, you can end up with 2 half circles of paper.
4. Fold the paper again, in an upwards direct, like in Photo 2c.
5. Lift up the paper at the bottom right edge and fold diagonally towards the left, to form a point, pointing downwards, as seen in Photo 2d.


6. Fold the paper again in half lengthways to make a thinner ‘dart’ shape, (Photo 3a).
***Note, for small cake tins, you will need to fold again to make an even thinner ‘dart’ shape***
7. Line up the tip of the paper ‘dart’ to the centre of the underside of the cake tin.
8. From there see where to cut the excess paper.
9. Use your finger to mark where to cut, and cut in a straight line not curved. (Photo 3c & d).


10. Cut off the excess paper, where you marked with your finger.
11. Unfold the paper and check the sizing against the inside of the cake tin/pan. You want the parchment circle to be just a little smaller than the base.
12. If too big & goes up the side of the cake tin/pan, simply fold the paper back up, in half, several times. Then trim off a tiny amount before checking again.
13. Grease the tin on the bottom and up the sides, before positioning the parchment round in place. I like to use Frylight cooking spray, but you can also use cake release or homemade lining paste/cake goop.
The cake tin is now ready to be filled and used to bake.


How To Use The Excess Paper
If making 2 cakes, and not too big, often you can cut your initial paper in half to make 2 parchment circles. It can also be recycled, or even scrunched up to be used in gift baskets, under tissue paper, to bulk it out. But if only making one cake, here is another great way to use up any excess paper:
1. Take the 2 pieces of excess paper, on top of each other and trim off the pointed edges to make a straight edge, (see Photo 5b, & c).
2. Next, take one strip of the paper and fold in half, lengthways (Photo 5d).


3. Repeat for the other strip of paper to make 4 pieces.
4. These strips will be used to line the sides of the tin, but since it is round and to keep in position better, make about 4 – 6 small tears by hand along one of the long edges (see Photo 6b).
5. Wrap the paper strip along the greased inner side of the cake pan, using the tears to help sit in position nicely.
6. Next, add a little of the grease onto the top of the first strip you applied, to act as a joining point for strip number 2. (See Photo 6c).
7. Place strip number 2 in position, overlapping with the end of strip 1 a little. repeat with the rest of the strip till covered, trimming or adding more grease if required.

When To use Parchment Rounds
Cut parchment rounds not just for cakes but pastries too. For Pizza or flatbreads, no need for greasing the tray/pan, just cut out the paper & place the pizza on top.
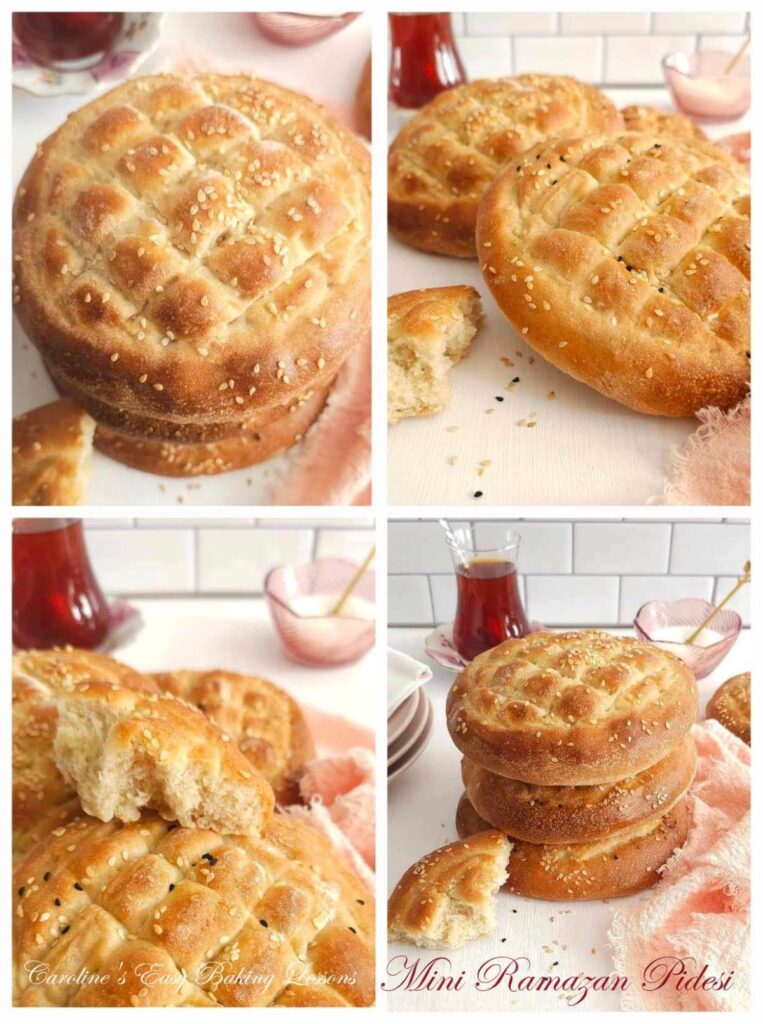
Or for some recipes like my Quicker Turkish Ramazan Bread, place the disc of dough on top of th eparchment when in the pizza pan, and spread out to the edges with your fingers. Then no need for transferring to the pan.
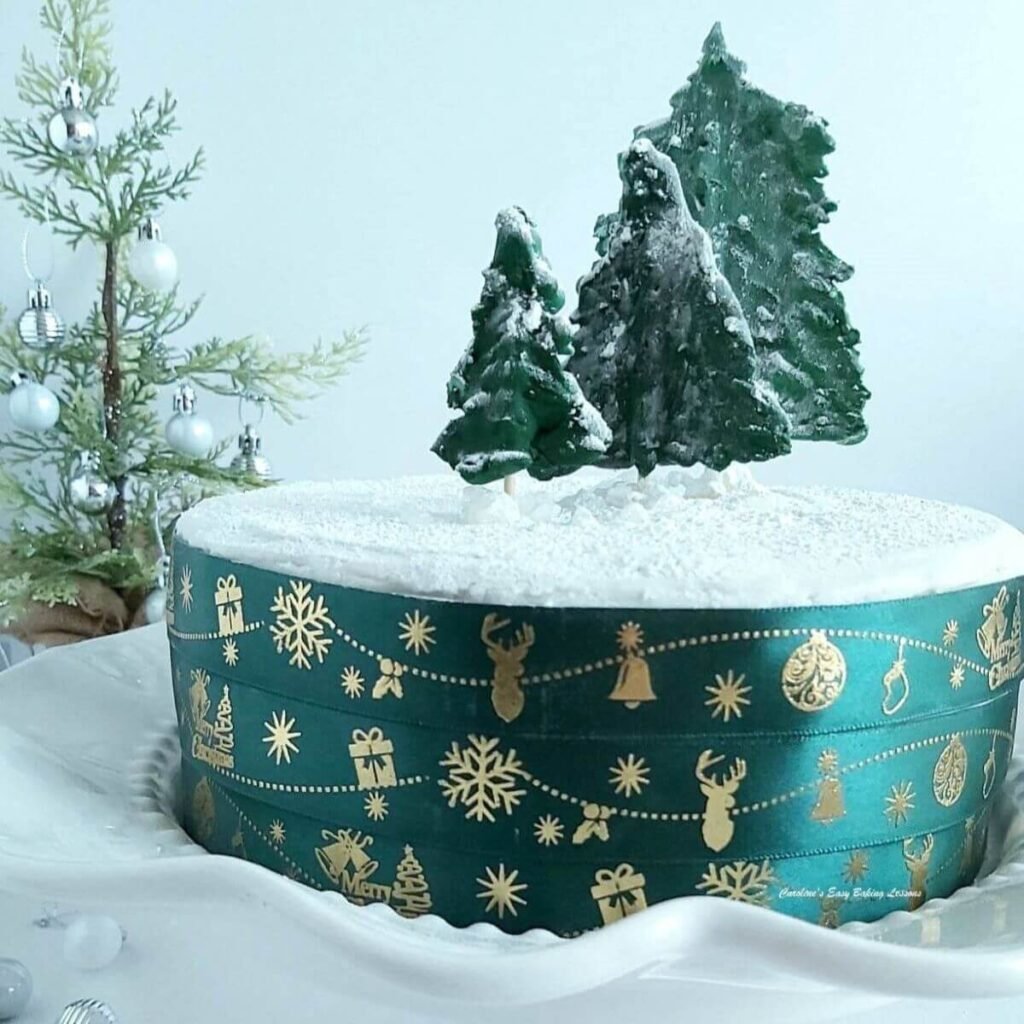
Examples of when to also paper line up the sides of the cake pan, are the likes of Genoise cakes such as my Summer Berry Griestorte. Cakes that are cooked on a lower heat for longer, such as Fruit Cakes. and British Christmas Cakes, should always be paper lined bottom and sides, as well as paper wrapped around the outside of the tin/pan to stop the cakes over-cooking on the outside. (Photos of these are below, just click the pic to go to the recipe).


Subscribe For More Recipes
Want more great recipes, tips, baking information and newsletters? Then please consider subscribing by adding your email address below. Be sure to check for a confirmation email & respond back, so you can follow me & receive your free emails. Your personal information will not be shared with a third party.
Join My Facebook Group
Why not also join my – Facebook group Easy Online Baking Lessons, dedicated to this baking lessons website, as well as providing one-on-one support with myself & my team? Be sure to answer all security questions when requesting to join.
Follow me on social media:
Happy Learning & Baking!
Caro x
4 Steps To Cut Parchment For Round Tins
Search For Something You Fancy!
Caroline’s Easy Baking Lessons


Thanks for sharing yet another helpful tip